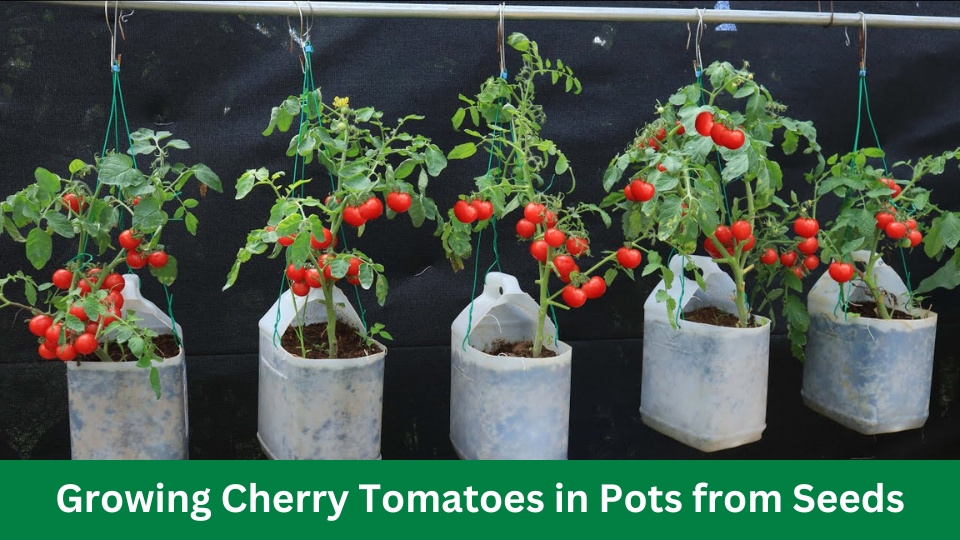
To Grow cherry tomatoes in pots from seeds, start by planting seeds in a well-drained, nutrient-rich potting mix. Place the pots in a warm, sunny spot and moisten the soil.
Growing cherry tomatoes in pots is an excellent choice for gardeners with limited space or those looking to start an urban vegetable garden. Cherry tomatoes are well-suited for container gardening due to their compact size and high yield. Starting from seeds gives you a wider variety of options and the joy of watching them grow from the beginning.
With the right care, including regular watering, appropriate sunlight, and proper fertilization, even novice gardeners can enjoy a bountiful harvest of these juicy fruits right from their balcony, patio, or windowsill. Selecting a suitable pot size, usually at least 12 inches in diameter, ensures the roots have enough space to expand and access necessary nutrients.
Choosing The Right Cherry Tomato Variety
Embarking on the journey of growing cherry tomatoes in pots starts with selecting the ideal variety. Each type of cherry tomato brings its own flavor, size, and growth habit to your garden.
Choosing a variety that thrives in containers and suits your taste and gardening goals is vital.
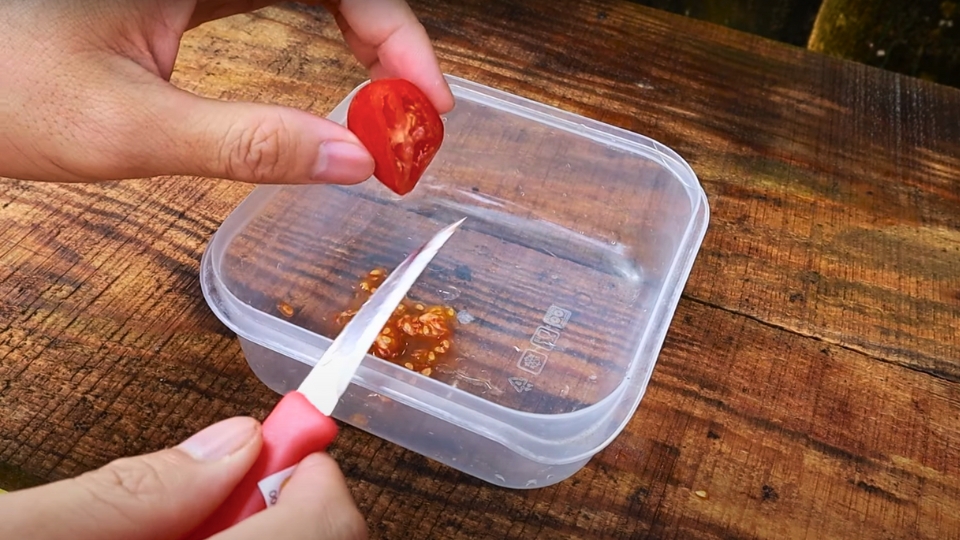
Considerations For Container Growth
- Disease resistance: Opt for varieties that can fend off common ailments.
- Plant size: Dwarf or bush types are ideal for pots due to their compact size.
- Maturity: Early-maturing types offer quicker harvests, a bonus in short seasons.
Popular Cherry Tomato Varieties For Pots
| Variety | Description | Container Size |
|---|---|---|
| Tiny Tim | Small plant, perfect for windowsills and small spaces. | 8-12 inches |
| Balcony | It is ideal for hanging baskets and small containers. | 12-16 inches |
| Tumbling Tom | Trailing plant that cascades over the edge of pots. | 14-18 inches |
| Gold Nugget | Produces yellow, sweet fruit early in the season. | 18-24 inches |
Essential Supplies For Seed Starting
Starting cherry tomato seeds at home is both rewarding and enjoyable. A successful seed-starting journey begins with gathering the right supplies. The right pots and soil mix are key to a robust start for cherry tomato seedlings.
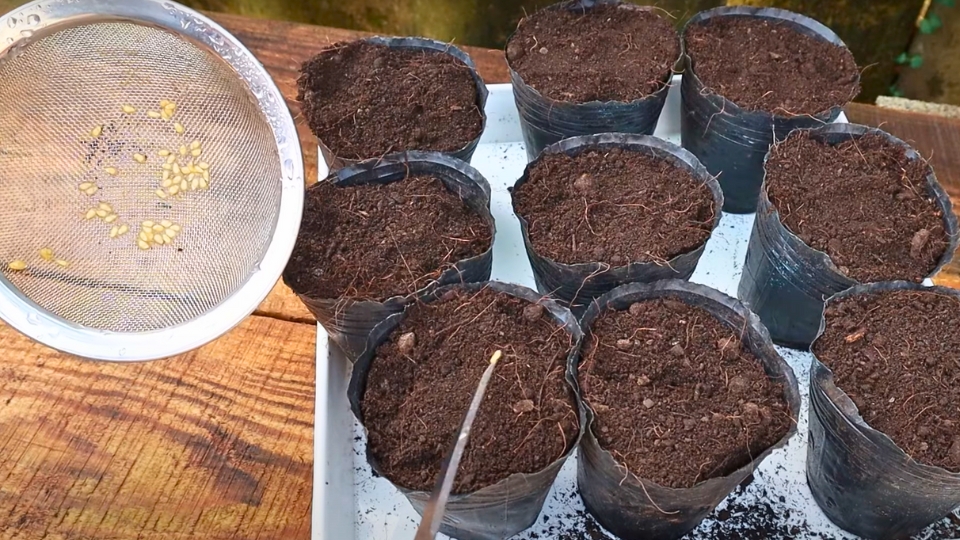
Choosing The Right Pots
Selecting suitable pots is crucial for healthy root development. You’ll need containers at least 3–4 inches deep to accommodate the growth of cherry tomato seedlings.
- Plastic pots: Are lightweight and ideal for moisture retention.
- Peat pots: Are great for transplantation as they can be placed directly into the soil.
- Fabric pots: excellent for aeration, leading to strong root systems.
Ensure all pots have adequate drainage holes at the bottom.
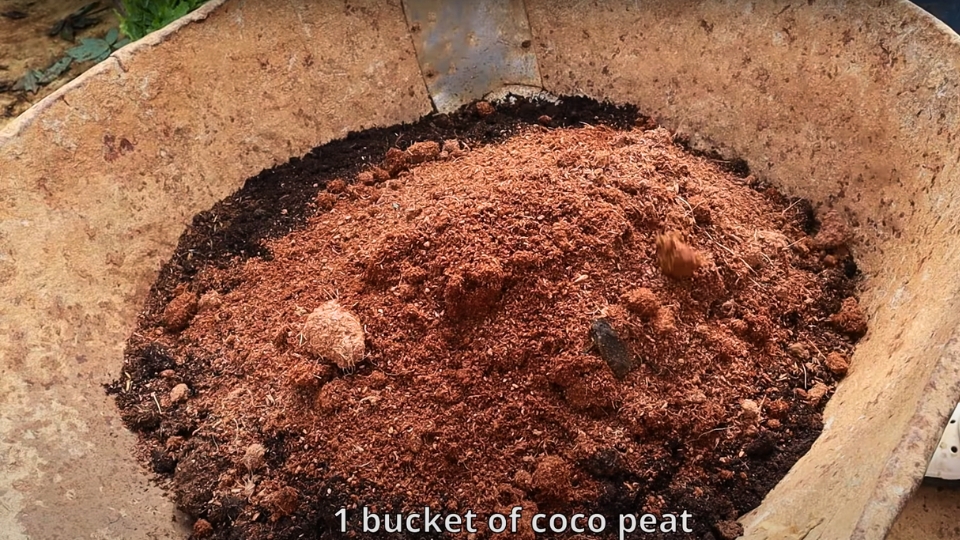
Soil And Compost Mix
The right soil mix can make all the difference for seedlings. Use a sterile, seed-starting mix, or make your own with equal parts peat moss and perlite.
| Component | Description | Benefit |
|---|---|---|
| Peat moss | Organic matter helps retain moisture | Provides water retention |
| Perlite | Volcanic glass for aeration | Prevents soil compaction |
| Compost | Rich in nutrients | Feeds the seedlings |
Add composted organic matter to enrich your mix and provide essential nutrients.
Planting Cherry Tomato Seeds Properly
Embarking on the delightful journey of growing cherry tomatoes from seeds offers exciting rewards. Cherry tomatoes thrive in pots, making them perfect for small gardens and balconies.
This guide dives into the crucial steps for sowing cherry tomato seeds. Let’s ensure your seeds have the best start possible.
Seed Depth And Spacing
Planting seeds at the right depth is key to successful germination.
Here’s how to do it:
- Fill your pot with a high-quality seed-starting mix, leaving some space at the top.
- Make holes about 1/4 inch deep in the soil.
- Place one or two seeds in each hole to increase the odds of germination.
- Cover the seeds gently with soil without compacting them.
- Space holes about 4 inches apart to give seedlings room to grow.
Creating The Ideal Environment For Germination
Germination requires specific conditions that we can simulate:
- Maintain soil moisture by watering the seeds with a spray bottle to avoid displacing them.
- Warm soil, ideally between 70 and 80°F, will encourage germination, so consider a heat mat if necessary.
- Cover your pot with plastic wrap to retain moisture until the seeds sprout.
- Provide ample light once seedlings emerge by placing pots in a sunny spot or using grow lights.
With the right depth, spacing, warmth, and moisture, your cherry tomato seeds are set to blossom into lush plants. Watch for the first green shoots and prepare for a bountiful harvest of juicy, sweet cherry tomatoes from your pot!
Caring For Seedlings In The Early Stages
Caring for seedlings is vital to growing robust cherry tomato plants. As tiny sprouts push through the soil, a strong start is key. Tender love and quick attention steer seedlings toward a healthy growth path.
Watering Routines For Seedlings
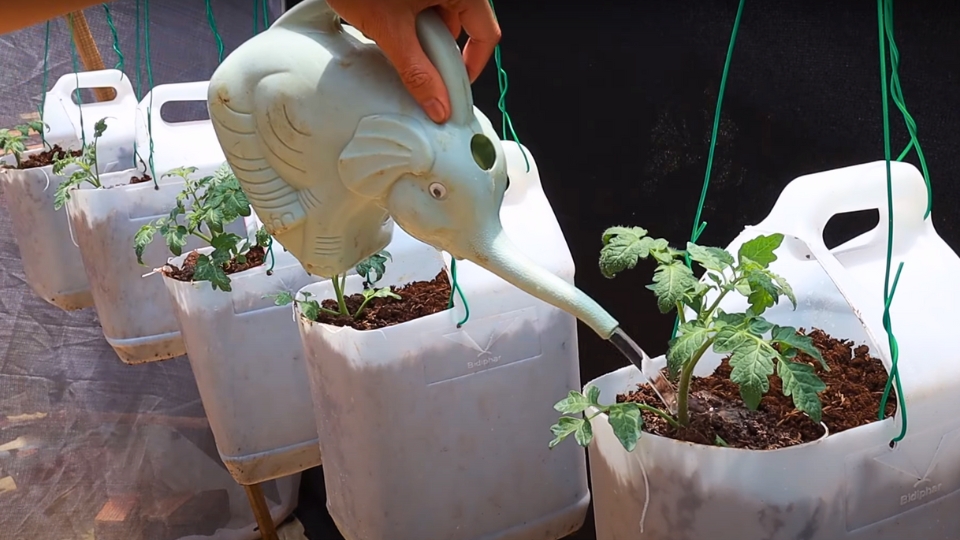
Consistent moisture is crucial for newly sprouted seedlings. A light mist keeps the soil damp without causing soggy conditions. Use a spray bottle to water the surface gently.
- Water once a day or more if the soil dries out quickly.
- Early in the morning is the best time to water and prepare seedlings for the day ahead.
- Avoid over-watering, as it can lead to damping-off disease.
Thinning Out For Optimal Growth
Thinning is the secret to avoiding overcrowding. It gives your cherry tomato seedlings room to spread their leaves and roots.
- Wait until seedlings grow their second set of leaves.
- Carefully snip the weakest seedling at the soil line, leaving the strongest ones.
- The remaining seedlings should be 2–3 inches apart.
Transplanting Seedlings To Larger Pots
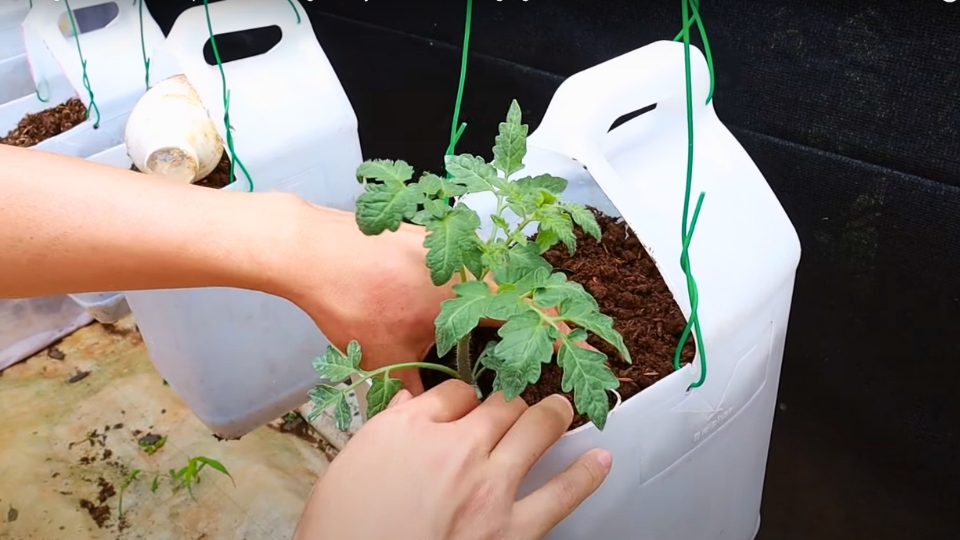
Transplanting seedlings into larger pots is a critical step in the journey of your cherry tomato plants. Seedlings start their lives in small containers but need more space to grow strong.
Let’s ensure our tiny tomato plants get the best start in their new, roomier homes. The key to success lies in timing and method. Follow these guidelines carefully for healthy, productive cherry tomato plants.
Timing For Transplanting
Seedlings are ready to move once they have a set of true leaves. These are the second pair of leaves that develop after the seed leaves. The right time typically falls between 2 and 3 weeks after germination. Avoid delays; overgrown roots can restrict growth.
Steps For Successful Transplanting
- Gather supplies: have larger pots, fresh potting mix, and water ready.
- Prepare the new pot. Fill it with soil and create a small hole in the center.
- Remove seedlings carefully. Use a spoon or fork to lift them without damaging the roots.
- Plant the seedling. Place it in the hole and gently cover it with soil.
- Water well: Soak the soil to help roots settle and recover from the shock.
Ensure the gentle handling of delicate seedlings during these steps. This will promote better root development and stronger plants.
| Tip | Benefit |
|---|---|
| Pre-moisten potting mix | It prevents root damage and ensures even moisture. |
| Avoid direct sunlight after transplanting | Minimizes stress and allows acclimation. |
Maintaining Cherry Tomato Plants
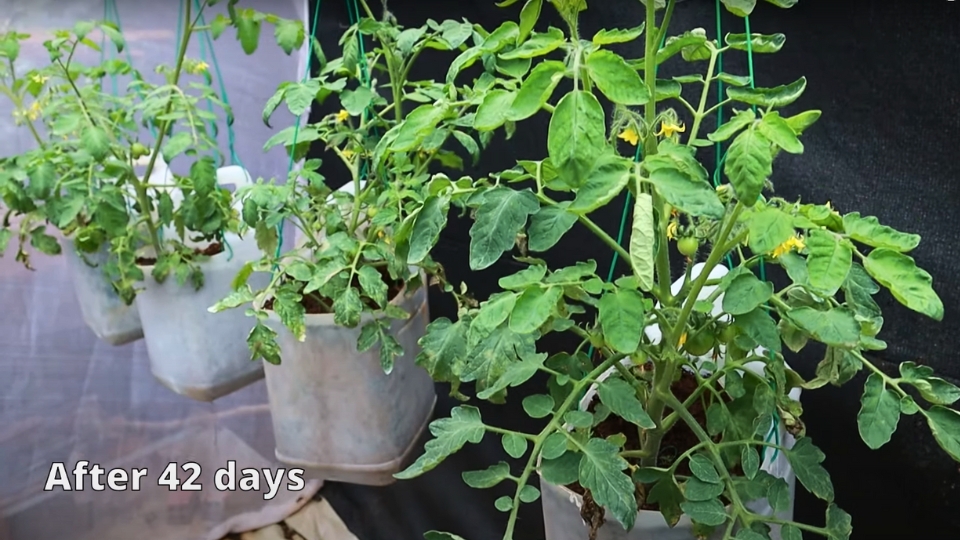
Gardeners cherish the flavor of cherry tomatoes in salads and snacks. To ensure these juicy gems thrive in pots, regular maintenance is key. Let’s dive into the essential care routine for your potted cherry tomato plants.
Watering And Feeding Schedule
Cherry tomatoes crave consistency in watering and nutrients for optimal growth. Implement a regular watering schedule that keeps the soil evenly moist.
- Check moisture daily. Pots dry out faster than garden soil.
- Water in the morning: This reduces evaporation and disease risk.
- Avoid wetting leaves. Focus on the soil to prevent fungal infections.
Feed your plants with a high-quality tomato fertilizer. Stick to a fortnightly feeding schedule, but adjust according to plant response.
Here’s a simple guideline:
| Stage | Nutrient Focus | Schedule |
|---|---|---|
| Young Plants | High Nitrogen | Every 2 Weeks |
| Flowering and Fruit | High Potassium | Every 2 Weeks |
Pruning And Support Systems
Pruning is crucial for air circulation and directing energy to fruit production. Snip off suckers that appear in the crotches of branch joints with clean shears.
- Prune regularly. Avoid excessive foliage that shades fruits.
- Remove yellow leaves. They can signal disease or nutrient issues.
- Harvest timely: Pick ripe tomatoes to encourage new growth.
Cherry tomatoes need support as they grow tall. Use stakes or cages tailored for pot sizes—secure branches with soft ties, allowing room for growth.
- Install stakes and cages early. Doing this avoids root disturbance later.
- Check ties weekly. Adjust to prevent cutting into stems.
- Mulch the surface. This retains moisture and deters weeds.
Pollination And Fruit Setting
Growing cherry tomatoes in pots from seeds leads to an exciting moment: pollination and fruit setting. This crucial phase determines the yield of your tomato plants. Let’s delve into ways to ensure successful pollination.
Encouraging Self-pollination
Cherry tomatoes can pollinate themselves. Yet, helping them along increases your chances of a big harvest. Here’s how:
- Shake the plants – Gently tap or shake the stem to mimic the wind. Do this daily during flowering.
- Use a fan – If indoors, a fan creates air movement. It should be on a low setting and not too close to the plants.
- Electric toothbrush method – Touch the back of a flower with a vibrating toothbrush. It shakes the pollen loose within the flower.
Understanding Blossom Drop
Flowers falling off before fruit forms is called blossom drop. It’s disappointing but preventable.
Look at these factors:
| Cause | Solution |
|---|---|
| Extreme temperatures | Protect plants from heat or cold. Aim for 70-75°F. |
| Improper watering | Keep soil moist. Avoid water stress. |
| Nutrient imbalances | Use balanced fertilizers. Avoid high nitrogen formulas. |
Following these tips can lead to a lush pot of cherry tomatoes bursting with fruits ready to be enjoyed!
Diseases And Pests Management
Understanding Diseases and pest management is crucial for growing healthy cherry tomatoes in pots from seeds. Growing in containers brings its own set of challenges. Quick identification and action are keys to protecting your potted plants.
Let’s dive into the common issues and embrace organic control methods for a lush tomato harvest!
Common Issues In Potted Plants
Potted cherry tomatoes can face diverse problems ranging from infections to infestations. Knowledge of symptoms helps in prompt treatment. Here’s a snapshot of what to watch for:
- Leaf Spots: Circular brown patches may indicate fungal infections.
- Wilts: Look out for drooping leaves that signal water stress or disease.
- Root Rot: Soggy soil might cause roots to decay, often unnoticed until too late.
- Insect Pests: Aphids and whiteflies can cause damage and disease.
Organic Pest Control Methods
Choosing natural methods helps keep our environment and tomatoes safe. Consider these organic strategies:
| Pest/Disease | Organic Control Method |
|---|---|
| Fungal Issues | Apply a mixture of baking soda and water to the affected leaves. |
| Insect Infestation | Release beneficial insects, like ladybugs, to eat aphids and mites. |
| Soil-Borne Diseases | Use sterile potting mix and clean pots to prevent spread. |
In addition to the tabled methods, keep plants strong with these tips:
- Water consistently to avoid stress.
- Keep leaves dry to reduce fungal spread.
- Remove and dispose of infected plant parts immediately.
Regular inspection and quick action guard against losses. Embrace these organic solutions for disease-free, robust cherry tomatoes in pots!
Harvesting And Enjoying Cherry Tomatoes
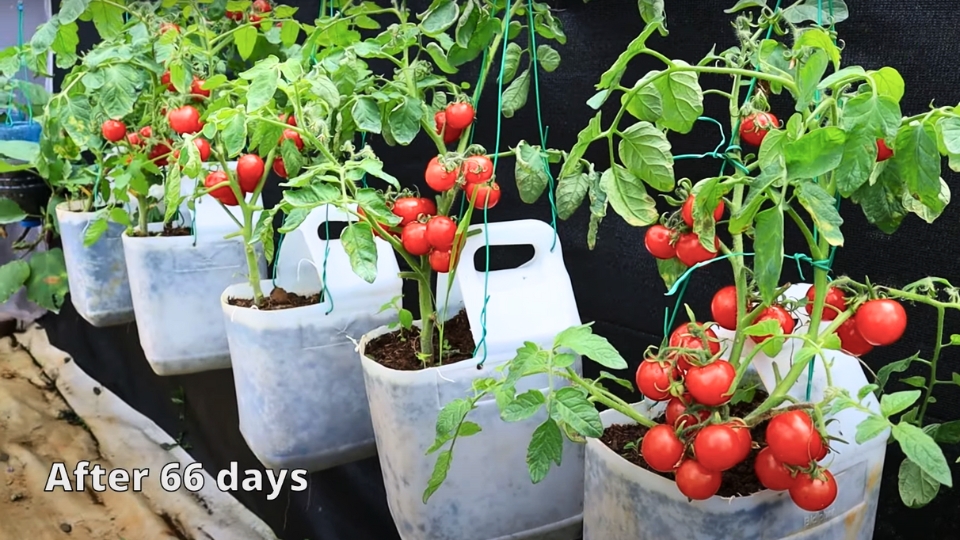
Harvesting and Enjoying Cherry Tomatoes mark the delightful culmination of your gardening journey. As tiny green orbs mature into plump, juicy red gems, the excitement builds for the moment you can savor your home-grown produce.
With the right approach to picking and storing, you’ll maximize the quantity and quality of your cherry tomato harvest.
When And How To Pick
- Wait for a deep red color and a bit of firmness.
- Cherry tomatoes are ready when they easily twist off the stem.
- Pick in the morning for peak flavor and juiciness.
- Use
scissors or prunersto avoid damaging the plant.
Storing And Using Your Harvest
| Storage Method | Duration | Tips |
|---|---|---|
| Room Temperature | 2-3 Days | Keep out of direct sunlight |
| Refrigerator | Up to 1 Week | Store in a crisper drawer |
| Freezing | Several Months | Great for sauces and soups |
Use cherry tomatoes fresh in salads, roast them for a flavorful side dish, or make a tangy sauce. Experiment with flavors to create delectable cherry tomato dishes that make every meal memorable.
FAQs Of Growing Cherry Tomatoes In Pots From Seeds
How Long Do Cherry Tomato Plants Take To Grow From Seed?
Cherry tomato plants typically take 60 to 80 days to grow from seed to fruit.
Do Cherry Tomatoes Grow Well In Containers?
Cherry tomatoes thrive in containers, making them ideal for small spaces and urban gardening.
Do Tomatoes Grow Better In Pots Or The Ground?
Tomatoes can thrive in both pots and on the ground, but pots offer better control over soil and watering conditions.
Final Word
Embracing the process of nurturing cherry tomatoes from seed to fruit rewards gardeners with the sweet, juicy bounty of fresh produce. Mastering the art of growing cherry tomatoes in pots can add vibrant color and delightful flavor to your urban garden or balcony.
Unlock the potential of small spaces while enjoying the taste of homegrown tomatoes. With the right care, anyone can turn a handful of seeds into a flourishing tomato haven. Happy gardening, and relish the fruits of your labor!
Information and Video Source: https://www.youtube.com/watch?v=UQ2dPMGzxBU

