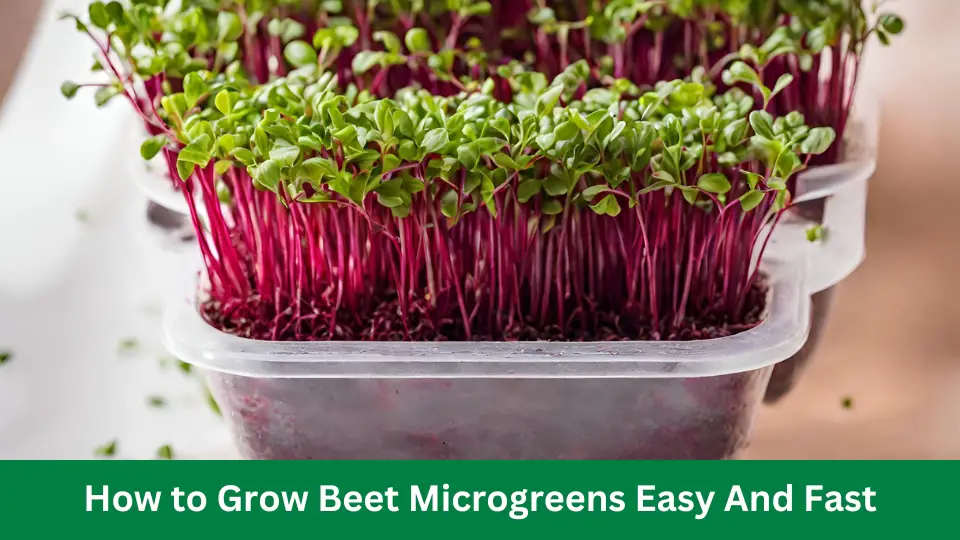
To grow beet microgreens easily and Quickly, soak the seeds, spread them evenly over a tray of soil, water them gently, and place them in a well-lit area. Beet microgreens are popular for their vibrant red color and earthy flavor, making them a nutritious addition to salads, sandwiches, and other dishes.
Whether you’re looking to add a pop of color to your plate or harness the health benefits of these tiny greens, growing beet microgreens is a simple and rewarding process. From selecting the right seeds to harvesting your bountiful crop, we’ll explain how to grow beet microgreens at home.
Let’s get started!
Preparing The Growing Medium
Now that your beet microgreen seeds are ready, it’s time to prepare the growing medium. The choice between soil and hydroponics is a crucial decision for microgreen growth.
Soil Vs. Hydroponics
Choosing the right growing medium depends on your preferences and the specific needs of your beet microgreens. Soil-based growing provides a natural and nutrient-rich environment that promotes healthy growth. On the other hand, hydroponics allows for a more controlled and efficient growth system where the roots are directly exposed to nutrient-rich water.
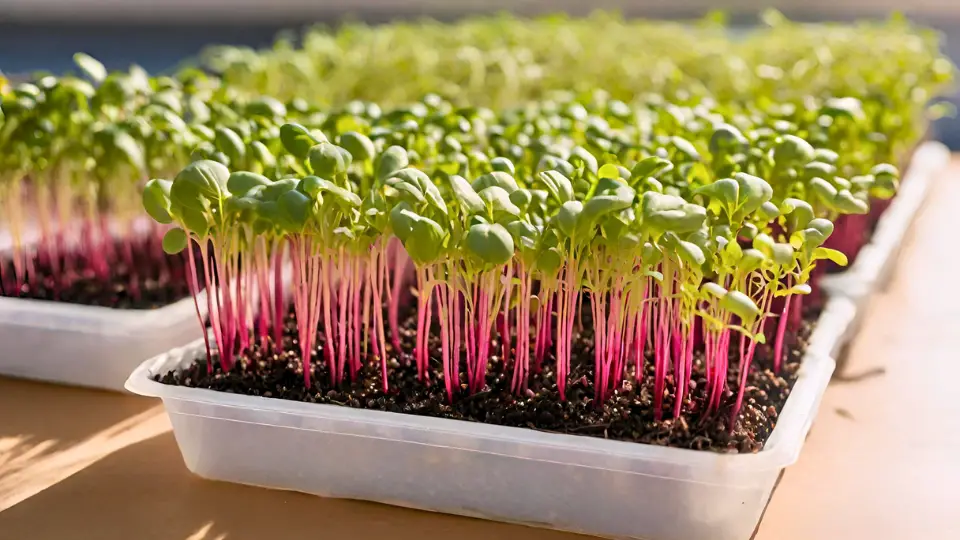
Here are some factors to consider when deciding between soil-based or hydroponic growing:
- Nutrient absorption: Beet microgreens grown in soil benefit from the natural nutrients present in the organic matter, creating a robust flavor profile. Hydroponics gives you more control over the nutrients delivered to the plants, resulting in a consistent taste.
- Water usage: Hydroponic systems typically require less water since water is recirculated within the system. Soil-based growing, however, may require more water as it needs to maintain the moisture levels necessary for plant growth.
- Space and setup: Hydroponics systems are often more compact and can be easily set up indoors. Soil-based growing, on the other hand, may require a larger space and suitable outdoor conditions.
Preparing The Soil
If you go with soil-based growing, it’s vital to prepare the soil to create an optimal environment for your beet microgreens.
- Choose the right soil: Look for a well-draining potting mix rich in organic matter. Avoid heavy or compacted soils, which can hinder root growth and water drainage.
- Amend the soil: Add organic compost or vermicompost to enrich the soil’s nutrient content further. Mix it well to ensure an even distribution throughout the growing medium.
- Ensure proper moisture: Moisten the soil before sowing the beet microgreen seeds. You want the soil damp but not overly wet to prevent seed rot. Maintain consistent moisture levels throughout the growth period, watering as needed.
Preparing the soil and choosing the appropriate growing medium sets the foundation for healthy beet microgreen growth. The next step will be sowing the seeds and providing the ideal growing conditions.
Sowing The Seeds
Discover the critical steps to growing beet microgreens with step 3 – Sowing the seeds. Master the process and enjoy these nutritious greens in just a few weeks. Get started and enjoy cultivating delicious and healthy microgreens.
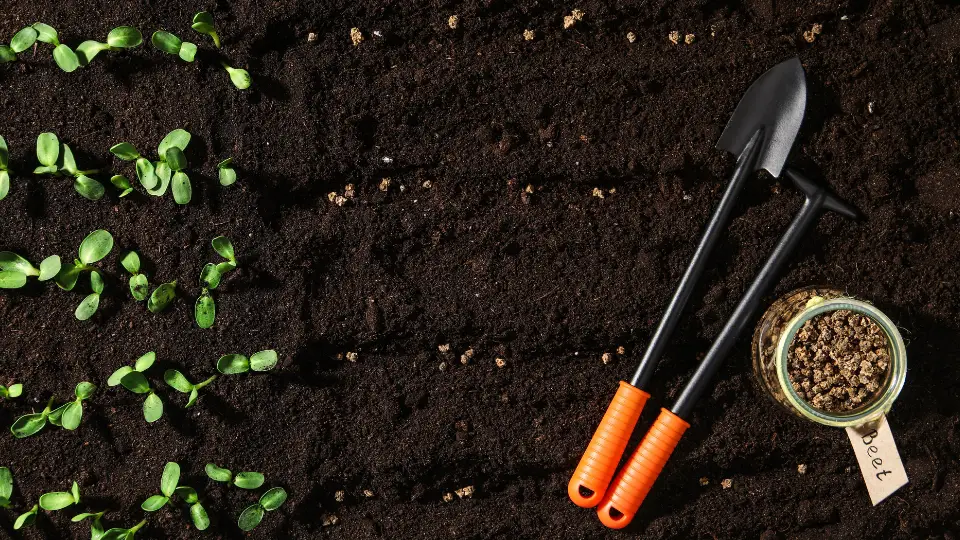
Pre-soaking The Seeds
Before sowing your beet microgreen seeds, it is advisable to pre-soak them in water for a few hours. This step helps to promote germination and speeds up the growth process. To do this, follow these simple steps:
- Measure the seeds you need based on the desired seed density (which we will discuss next). It is recommended to soak 1 to 2 tablespoons of seeds per tray.
- Place the seeds in a bowl or container and cover them with water. Make sure the water level surpasses the seeds by approximately an inch.
- Allow the seeds to soak for at least 4 hours, but no longer than 8 hours. This duration ensures that the seeds properly absorb the water without becoming waterlogged.
- After the soaking period, drain the excess water from the seeds using a sieve or colander. Rinse them thoroughly with clean water to get rid of any remaining debris.
Determining The Seed Density
The seed density refers to the number of beet microgreen seeds you will need to sow per tray or container. Determining the appropriate seed density is crucial to ensure optimal growth and avoid overcrowding.
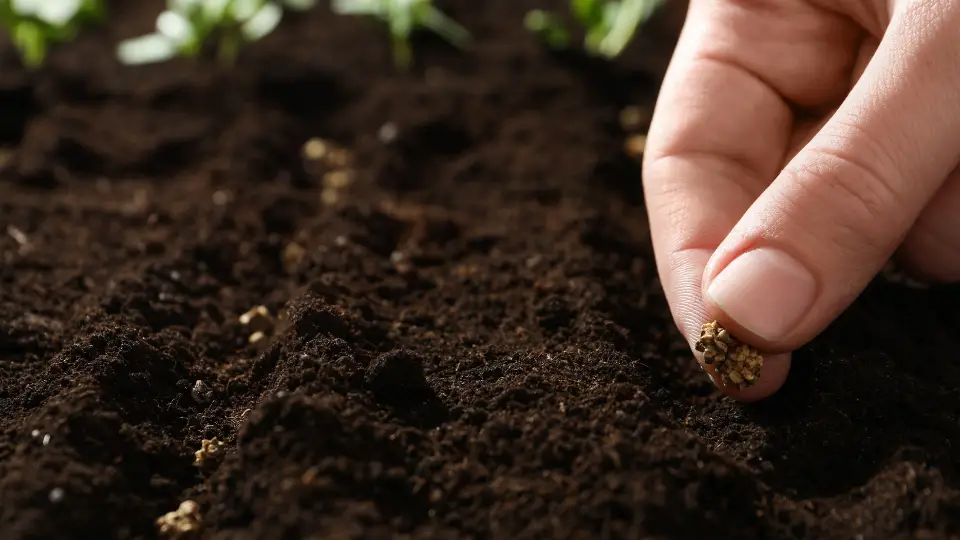
Here’s how to determine the seed density:
- Consider the size of your tray or container. A standard 10×20 inch tray typically holds around 1.5 to 2 ounces (or 45 to 60 grams) of beet microgreen seeds.
- Calculate the seed density by dividing the total weight of the seeds by the area of the tray or container. For example, if you have 2 ounces of seeds and a 10×20 inch tray, the seed density would be approximately 0.1 ounces per square inch.
- Spread the seeds evenly across the surface of the tray or container. Use your hand or a seed spreader to ensure uniform distribution.
By pre-soaking the seeds and determining the appropriate seed density, you are well on your way to growing healthy and vibrant beet microgreens. The next step is to provide them with ideal growing conditions, which we will discuss in the next section.
Providing Adequate Lighting
Providing adequate lighting is crucial for their healthy development as beet microgreens. In this step, we will discuss the different options for lighting your beet microgreens and the recommended light intensity and duration.
Natural Light Vs. Artificial Light
When deciding between natural and artificial light sources for your beet microgreens, it’s essential to consider natural sunlight availability and consistency. While natural light is generally the preferred option, it may not always be feasible. This is especially true if you don’t have access to ample sunlight or live in an area with unpredictable weather conditions.
Nevertheless, if you can access a sunny spot in your house or garden, it can be an excellent natural light source for your beet microgreens. Ensure that the location receives at least 6 hours of direct sunlight each day, preferably in the morning or evening when the sun is not too harsh.
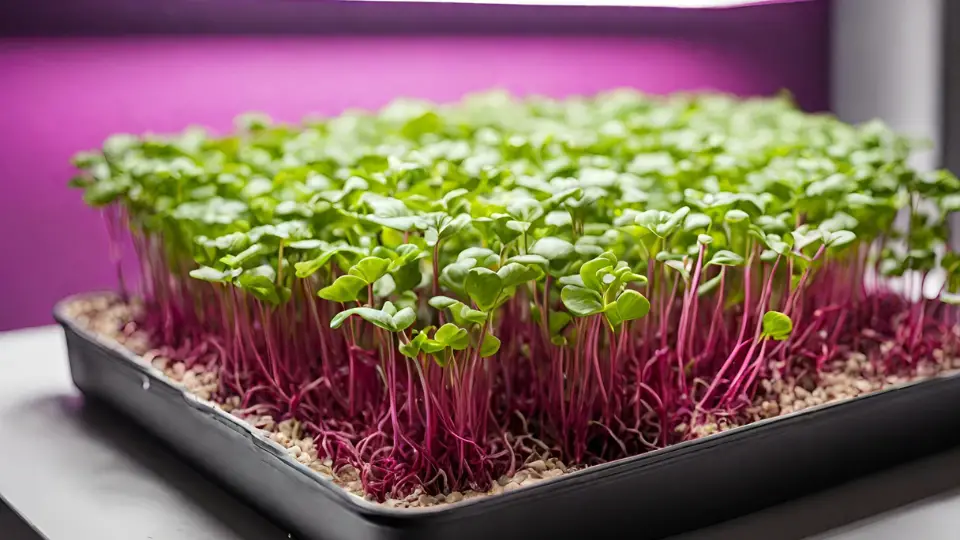
If natural light is not available or consistent, artificial light can be a reliable alternative to growing beet microgreens. Using energy-efficient LED grow lights specifically designed for indoor gardening is highly recommended. These lights provide the spectrum and intensity beet microgreens need for optimal growth.
Recommended Light Intensity And Duration
The right light intensity and duration are essential for the healthy growth of beet microgreens. Generally, beet microgreens require approximately 12 to 16 hours of light daily.
When using artificial light, a recommended light intensity of 400 to 600 µmol/m²/s (micromoles per square meter per second) is ideal for beet microgreens. You can easily measure light intensity using a light meter specifically designed for horticultural applications.
It’s important to note that the light intensity and duration may vary slightly depending on the specific variety of beet microgreens you are growing. Therefore, it’s always a good idea to refer to the seed package or consult a reputable source for precise recommendations based on the variety of beet microgreens.
Watering And Moisture Control
For optimal beet microgreen growth, it’s crucial to water and control moisture levels properly. This step ensures healthy and vibrant greens.
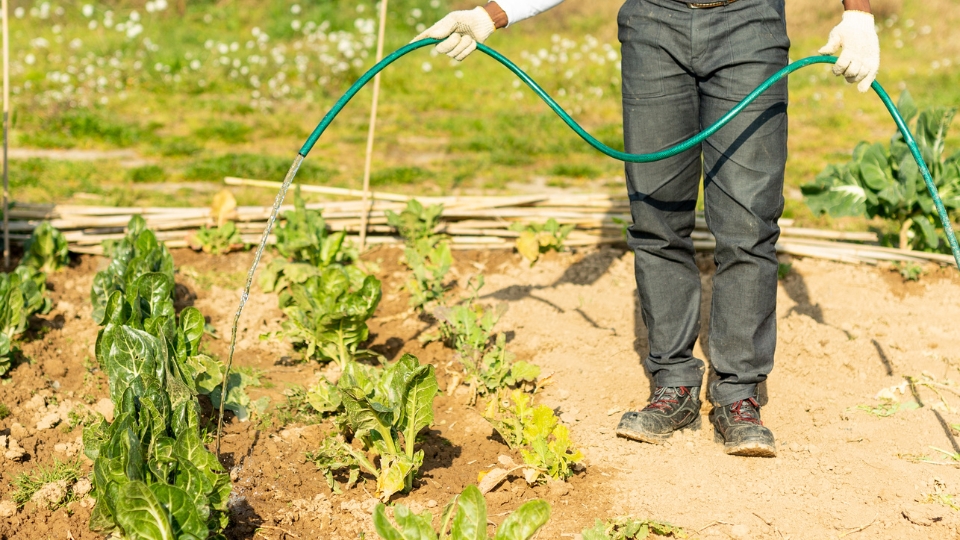
Proper watering and moisture control are crucial for beet microgreens to thrive. Here are some helpful tips and techniques to ensure your microgreens receive the right amount of water:
Watering Frequency And Techniques
Proper watering frequency is key to the successful growth of beet microgreens. Overwatering or underwatering can both have detrimental effects on their development. To avoid these issues, follow these watering tips:
- Water your beet microgreens daily, keeping the growing medium slightly moist. Aim to maintain a consistent level of moisture without saturating the growing medium.
- Use a spray bottle or a gentle sprinkler attachment to water your microgreens. This helps to evenly distribute water and prevent damage to the fragile young plants.
- Avoid pouring water directly onto the leaves or stems of the microgreens, as this can lead to mold or disease. Water the soil directly, allowing it to absorb the moisture.
Avoiding Overwatering
Overwatering is a common mistake when growing microgreens. It can lead to root rot and inhibit the growth of your beet microgreens. Here’s how to avoid overwatering:
- Ensure that the growing trays have good drainage. Excess water should be able to flow out of the trays freely.
- Always check the moisture level of the growing medium before watering. Stick your finger about an inch into the soil—if it feels damp, skip watering.
- Remember that beet microgreens are relatively small, requiring less water than fully grown plants.
By following these watering techniques and preventing overwatering, you can provide your beet microgreens with the optimal conditions for growth. This will help them thrive and provide you with delicious and nutritious microgreens to enjoy!
Harvesting Beet Microgreens
After patiently nurturing your beet microgreens, it’s finally time to harvest them. The moment you’ve been waiting for has arrived!
Harvesting beet microgreens is straightforward and requires care. In this step, we’ll cover the ideal harvest time and techniques to ensure you get the most out of your crop.
Ideal Harvest Time
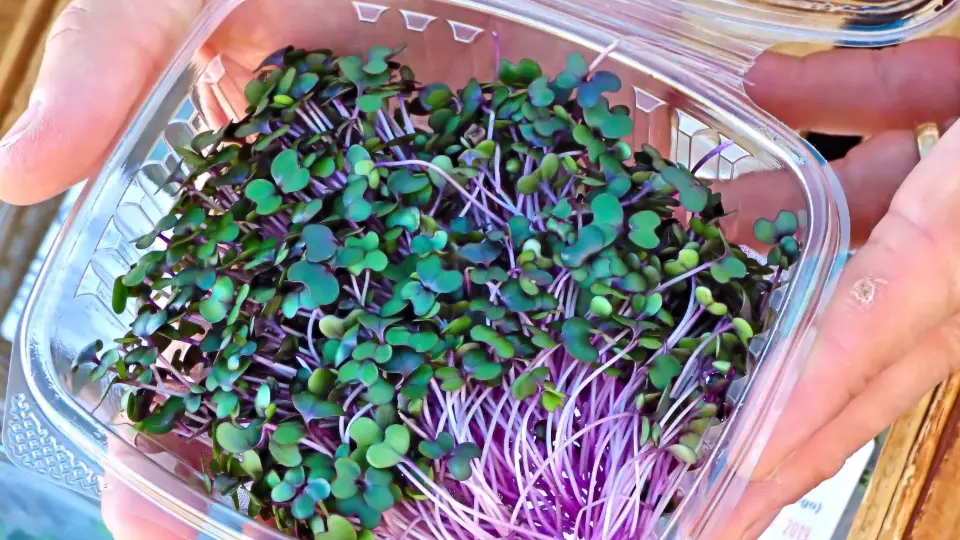
The ideal time to harvest beet microgreens is when they have reached a height of approximately 2-3 inches. The leaves will be vibrant and tender at this stage, packed with nutrients and flavor. Avoid waiting too long to harvest, as microgreens may become overgrown and lose their delicate taste.
Harvesting Techniques
Harvesting beet microgreens can be done using simple techniques that preserve the integrity of the plants. Follow these steps to ensure a successful harvest:
- Prepare a clean and sanitized pair of scissors or shears.
- Gently hold the base of the microgreen stem with one hand.
- Use scissors or shears to make a clean and precise cut just above the soil or growing medium.
- Continue this process, cutting the microgreens one by one or in small batches, depending on the quantity you desire.
Handling the microgreens carefully is important to avoid damaging the delicate leaves or disturbing the surrounding soil. Using clean cutting tools minimizes the risk of introducing contaminants that could impact your harvest quality.
Once you have harvested the beet microgreens, store them in an airtight container or sealed plastic bag in the refrigerator. Freshly harvested microgreens can last up to a week when stored properly, allowing you to enjoy their vibrant colors and flavors in various culinary creations.
Now that you know how to harvest beet microgreens, you’re one step closer to enjoying your time and work’s nutritious and delicious rewards. Stay tuned for the next step, where we’ll explore how to incorporate beet microgreens into your favorite dishes.
Frequently Asked Questions Of How To Grow Beet Microgreens
How Long Do Beet Microgreens Take To Grow?
Beet microgreens typically take 7-14 days to grow from seed to harvest.
Should You Soak Beet Microgreens?
Soaking beet microgreens is not necessary. They can be grown without soaking for better taste and texture.
How Do You Harvest Beet Microgreens?
To harvest beet microgreens, use clean scissors to cut them just above the soil line when they grow to about 2 inches tall. This ensures fresh and tender greens for salads, sandwiches, or garnish. Be gentle when handling the delicate shoots.
Conclusion
Growing beet microgreens is rewarding and easy, perfect for beginners and experienced gardeners. You can enjoy fresh and nutritious beet microgreens with the right steps within a few weeks. Remember to choose quality seeds, provide proper lighting and moisture, and harvest at the right time.
By following these guidelines, you’ll be well on your way to enjoying beet microgreens’ delicious taste and health benefits. Happy growing!
Video Source: https://www.youtube.com/watch?v=RtREbCZP_sw

