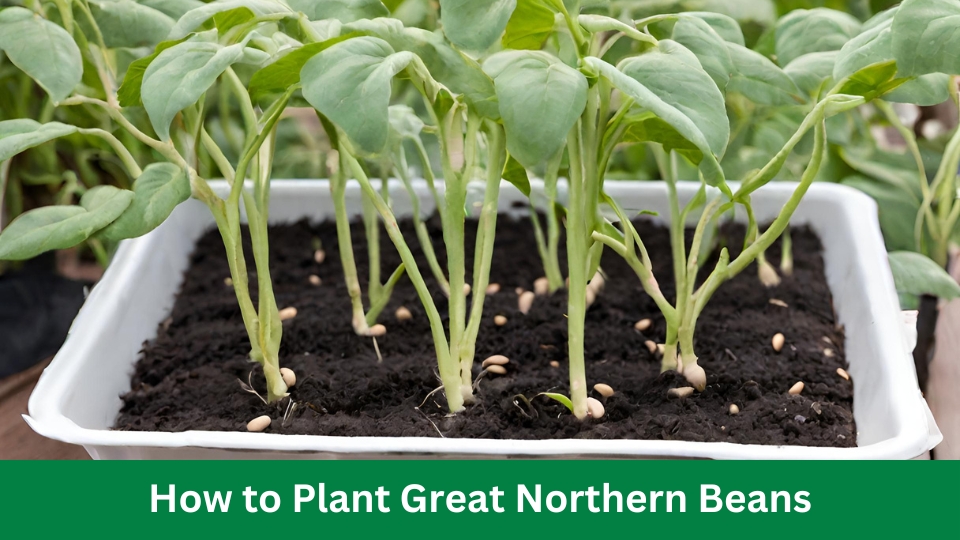
To plant Great Northern beans, soak them overnight, select a sunny location, and sow them about an inch deep in well-drained soil. Planting Great Northern beans is a simple process that requires a few key steps.
These nutritious legumes are popular among gardeners due to their versatility and delicious flavour. Following a few basic guidelines, you can grow your Great Northern beans at home. We will discuss the preparations, ideal planting conditions, and step-by-step instructions to help you get started.
You can soon enjoy a bountiful harvest of these tasty beans from your garden with proper care and attention. Learn how to plant Great Northern beans and begin your gardening journey.
Preparing The Soil
To plant great northern beans successfully, it is important to prepare the soil properly. Ensure the soil is well-drained, rich in organic matter, and has a pH between 6 and 7. Remove any weeds or debris and loosen the soil before planting.
Clearing The Area
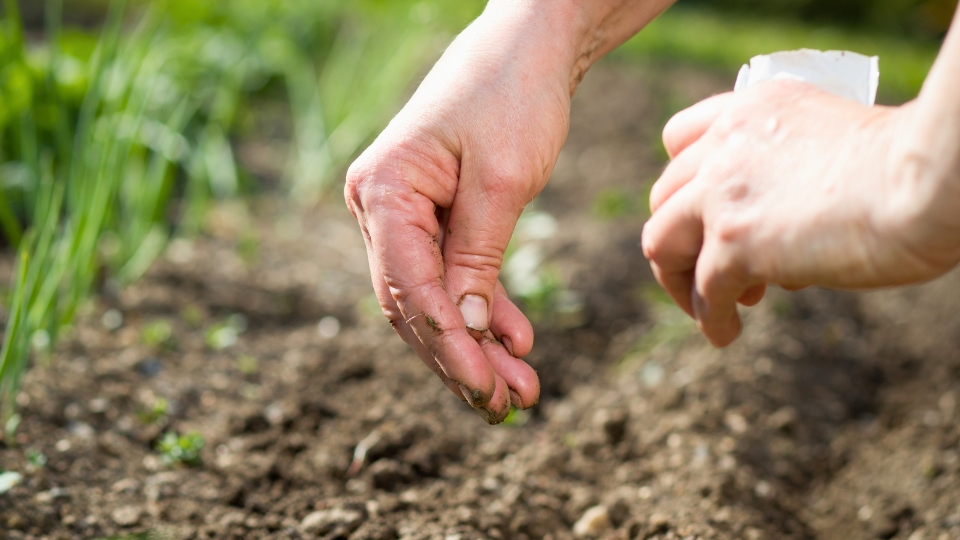
Before you start planting great northern beans, it’s essential to clear the area where you plan to grow them. Remove any weeds, rocks, and debris that might hinder the growth of your beans.
Take some time to inspect the area and make sure it is free from any unwanted allergens or harmful substances that could impact your beans’ health.
Testing Soil Composition
Knowing the composition of your soil is crucial for successful great northern bean cultivation. Conduct a soil test to determine the pH level and nutrient content.
This test will help you identify any deficiencies or imbalances in your soil, allowing you to make the necessary amendments to create an optimal environment for your beans to thrive.
Aerating The Soil
Aerating the soil is an essential step before planting great northern beans. This process involves improving the soil’s structure and allowing better air and water circulation. Proper aeration allows your beans’ roots to penetrate deeper into the soil, accessing vital nutrients and promoting healthy growth.
Here’s a simple aerating method you can follow:
- Start by using a garden fork or aeration tool to loosen the top layer of soil. Insert the fork or tool into the ground and gently rock it back and forth, creating small holes.
- Continue this process throughout the planting area, ensuring the holes are evenly spaced.
- After aerating, lightly rake the surface to level the soil and break up any large clumps.
Remember to aerate your soil before planting each season, as it helps maintain the soil’s health and prevents compaction, ensuring optimal conditions for your great northern beans.
Choosing The Right Location for Great Northern Beans
To ensure the successful growth of Great Northern beans, selecting the right location for planting is crucial. Here are three key factors to consider when choosing the perfect spot to plant your beans:
Selecting A Sunny Spot
When planting Great Northern beans, choosing a sunny spot is essential, as they thrive in full sun. Ensure that your selected location receives at least six to eight hours of direct sunlight each day. Sunlight provides the energy necessary for the plants to produce healthy foliage and develop robust bean pods.
Considering Drainage
Good drainage is vital for Great Northern beans since waterlogged soil can lead to root rot and other detrimental conditions. Opt for a location with well-drained soil to prevent excess water from pooling around the roots. If your garden has heavy clay or compacted soil, amending it with organic matter such as compost can significantly improve drainage.
Avoiding Frost Pockets
Great Northern beans are sensitive to cold temperatures and can be damaged by late spring or early fall frosts. To safeguard your beans from frost damage, avoid planting them in frost pockets.
These are low-lying areas where cold air collects, such as low spots in your garden or at the base of slopes. Instead, choose a location that offers good air circulation, which helps prevent frost from settling on your plants.
By carefully considering these three factors when choosing the right location for planting your Great Northern beans, you can provide them with the optimal environment to thrive and produce a bountiful harvest.
Selecting And Planting Great Northern Beans Seeds
Planting Great Northern Beans is a simple and rewarding process. With proper selection, preparation, and planting techniques, you can ensure a successful bean harvest in your garden.
Planting great northern beans requires careful selection and proper handling of seeds. You can ensure successful germination and healthy plant growth by choosing quality seeds, soaking them before planting and determining the proper spacing.
Choosing Quality Seeds
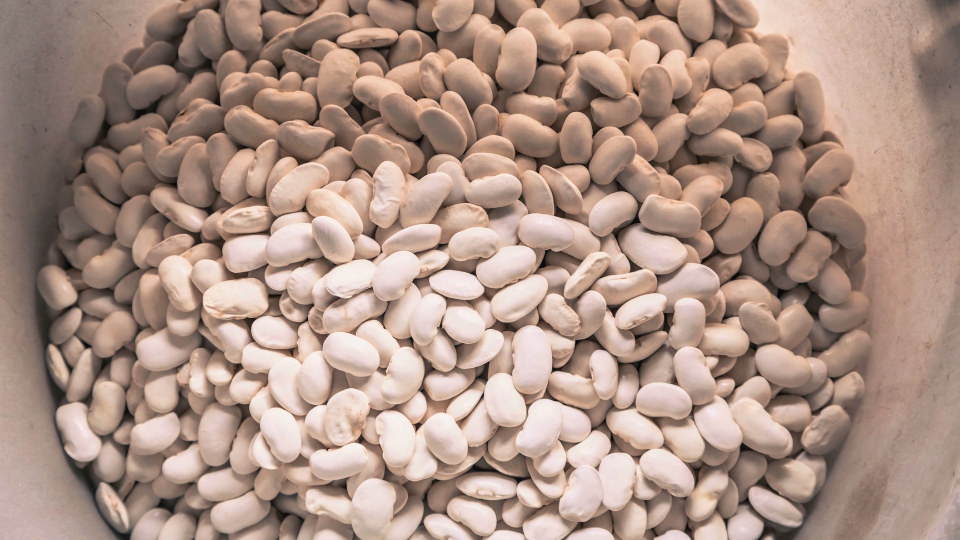
To achieve robust and productive plants, starting with high-quality, great northern bean seeds is crucial. Look for uniform seeds in colour and shape, indicating maturity and good genetic traits. Additionally, ensure the seeds are clean and free from debris and pest damage.
Soaking Seeds For Faster Germination
Soaking great northern bean seeds before planting can significantly improve germination rates and increase overall growth. Before soaking, rinse the seeds thoroughly to remove any impurities.
Then, place the seeds in a bowl or container and cover them with clean water. Let the seeds soak for about 8–10 hours or overnight. This process softens the seed coat, allowing easier and quicker water absorption.
Determining Proper Spacing
Proper spacing is essential to providing enough room for great northern bean plants to grow and thrive. When planting, consider the mature size of the plants and allow adequate space between each seed. Aim for 4-6 inches spacing between seeds and rows, ensuring enough airflow and sunlight for healthy plant development. To further assist you in determining the proper spacing, refer to the table below:
| Planting Method | Spacing (between seeds) | Spacing (between rows) |
|---|---|---|
| Straight row | 4-6 inches | 12-18 inches |
| Two rows | 4-6 inches | 24-30 inches |
| Hill | 4-6 inches | 24-36 inches |
Ensure each seedling is positioned appropriately from the other, considering the specified spacing. Following these steps for selecting and planting great northern bean seeds, you can establish a strong foundation for healthy and abundant bean plants.
Remember, attention to seed quality, soaking for faster germination, and proper spacing are key elements in successful bean cultivation.
Great Northern Beans: Watering And Fertilizing
Watering and fertilizing are essential for the healthy growth and development of Great Northern Beans. Establishing a proper watering routine and applying fertilizer at the right time ensures that your beans thrive and produce abundant harvests.
Establishing A Watering Routine
When it comes to watering Great Northern Beans, consistency is key. These beans require regular moisture to flourish, especially during germination and flowering. Here are a few tips to establish a watering routine:
- Water your beans deeply once or twice a week, depending on the weather conditions. Aim to provide around 1 inch of water per week through rainfall or supplemental irrigation.
- Drink water early or late in the afternoon to avoid evaporation. This allows the roots to absorb moisture effectively.
- Avoid wetting the foliage excessively, as it can lead to the development of fungal diseases. Instead, focus on watering the soil at the base of the plants.
- Use your fingers to check the moisture level in the soil. If the top inch feels dry, it’s time to water again. However, be cautious not to overwater, as it can cause root rot and other issues.
Applying Fertilizer At The Right Time
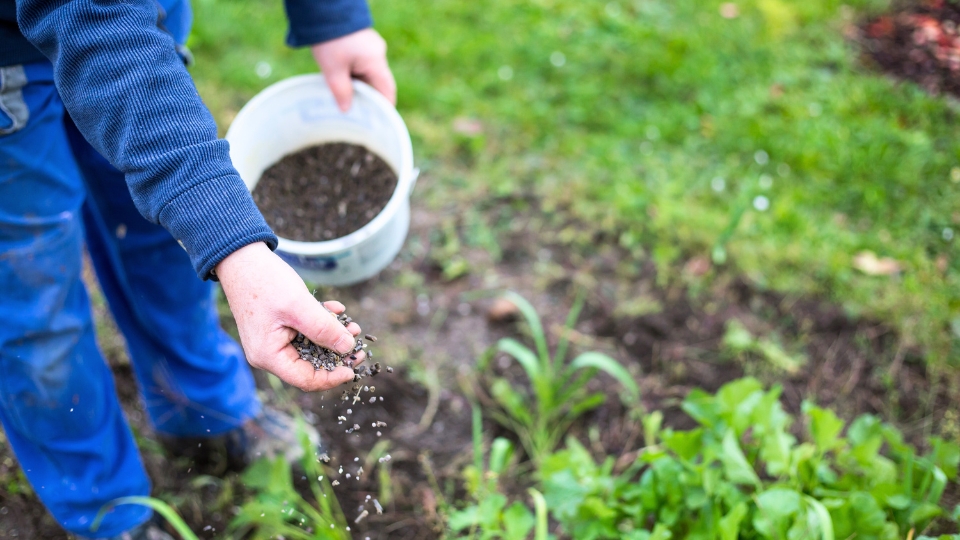
Great Northern Beans benefit from a boost of nutrients at different stages of their growth. Applying fertilizer properly can promote healthier plants and maximize yields. Consider the following guidelines:
| Stage | Fertilizer Type | Application Rate |
|---|---|---|
| Before planting | A balanced fertilizer, such as 10-10-10 | Apply according to package instructions, usually around 2 cups per 100 square feet |
| During flowering | A phosphorus-rich fertilizer, such as 5-10-10 | Apply around 1 cup per 100 square feet, focusing on the area around the plants |
| After the first harvest | A nitrogen-rich fertilizer, such as 12-0-0 | Apply approximately 1 cup per 100 square feet to support new growth and additional harvests |
Remember to follow the instructions on the fertilizer packaging and adjust the application rates based on the size of your planting area. Applying too much fertilizer can harm the plants, so using the recommended amounts is crucial.
Avoiding Overwatering
While watering is essential, overwatering can be detrimental to Great Northern Beans. Excessive moisture in the soil can lead to root diseases, wilting, and stunted growth. Here are a few tips to avoid overwatering:
- Ensure that the planting area has good drainage to prevent waterlogged soil. Raised beds or adding organic matter can improve drainage.
- Monitor the weather and adjust your watering schedule accordingly. If rainfall is abundant, you might need to reduce or skip supplemental irrigation.
- Regularly inspect the plants for signs of overwatering, such as yellowing leaves, wilting, or fungus.
- Allow the soil to dry slightly between watering sessions. Testing moisture levels with your fingers can help determine when to water again.
Establishing a watering routine, applying fertilizer at the right time, and avoiding overwatering will set your Great Northern Beans up for success. You can enjoy a bountiful harvest of nutritious and delicious beans with proper care.
Protecting From Pests And Diseases
Learn how to protect your Great Northern Beans from pests and diseases to ensure a successful harvest. Implement proper planting techniques and use organic pest control to safeguard your crop.
Identifying Common Pests
When it comes to growing great northern beans, it’s important to be aware of the common pests that can threaten your plants. By identifying these pests early on, you can take the necessary steps to protect your crop and ensure a successful harvest.
Here are a few of the most common pests that can infest your great northern bean plants:
| Pest | Appearance | Signs |
|---|---|---|
| Aphids | Small, soft-bodied insects | Yellowing leaves, distorted growth |
| Bean Leaf Beetle | Small, oval-shaped beetles | Notched leaves, skeletonized foliage |
| Spider Mites | Tiny, yellowish or reddish mites | Yellow stippling on leaves, webbing |
| Whiteflies | Small, white insects | Sticky honeydew on leaves, yellowing plants |
Implementing Pest Control Methods
If you notice signs of pest infestation on your great northern bean plants, it’s important to take action to control the problem before it worsens. There are several effective pest control methods you can implement:
- Handpicking: If the infestation is limited, manually remove the pests from your plants.
- Natural Predators: Encourage beneficial insects like ladybugs and lacewings to help control pests.
- Organic Sprays: Use organic insecticidal soaps or neem oil to control pests safely.
- Crop Rotation: Rotate your great northern bean plants with other crops to reduce pest populations.
Recognizing Signs Of Diseases
In addition to pests, great northern bean plants are also vulnerable to various diseases. Identifying signs of diseases early on can help you take preventive measures to protect your plants and prevent their spread to other crops.
Here are some common diseases that can affect great northern bean plants:
- Anthracnose: Dark lesions on leaves, stems, and pods.
- Bean Rust: Powdery orange or brown spots on leaves and pods.
- Bacterial Blight: Water-soaked lesions that turn brown or black.
- Mosaic Viruses: Stunted growth, mottled leaves.
If you notice any of these signs, it’s important to take immediate action to prevent further spread of the disease. Remove and destroy infected plants and sanitize your gardening tools to prevent contamination.
Supporting The Plants
When planting great northern beans, supporting the plants is crucial to ensuring healthy growth and maximizing yields. Proper support keeps the plants upright and allows better airflow and sunlight exposure, reducing the chances of diseases and promoting efficient photosynthesis.
Constructing Trellises Or Stakes
Constructing trellises or stakes is an effective way to support great northern bean plants. These structures provide vertical support, allowing the plants to grow upward rather than sprawling on the ground. Constructing a simple stake system involves driving sturdy wooden or metal stakes into the ground regularly along the rows of plants.
Stakes should be roughly 5–6 feet tall and should be positioned about 1-2 feet apart. To secure the plants to the stakes, use soft twine or plant clips, gently loosely tying the stems to avoid damaging them. This method prevents the plants from collapsing and facilitates easy access for weeding and harvesting.
Training Vines To Climb
Great northern bean plants have long, twining vines ideal for climbing. Training the vines to climb up trellises or fences not only provides additional support but also optimizes space in the garden. To train the vines, gently guide them towards the trellis or fence, ensuring the tendrils loop around and grip the support securely.
Regularly check for strayed vines and gently redirect them toward the support structure. It’s essential to train the vines early on, as older, more established vines may be difficult to redirect. Promoting vertical growth enhances air circulation and makes plants less susceptible to diseases and pests.
Pruning For Better Airflow
Pruning the great northern bean plants is an effective technique to improve airflow and minimize the risk of fungal diseases. Begin by removing any dead or diseased leaves, stems, or tendrils to prevent the spread of pathogens. Additionally, trim any excessive foliage that may be blocking sunlight and hindering airflow to the lower parts of the plant.
Use clean and sharp pruners to avoid introducing further damage or infections. It’s advisable to prune early in the morning on a dry day to allow the wounds to heal quickly and prevent disease onset. Regular pruning enhances air circulation and helps the plants allocate more energy towards producing delicious beans.
Great Northern Beans Harvesting Tips
Learn how to plant great northern beans with these easy steps. From choosing the right location to planting the seeds, this guide will help you achieve a successful harvest.
Monitoring For Proper Maturity
Before harvesting your Great Northern beans, monitoring them closely to ensure they have reached proper maturity is essential. This guarantees you pick them at the right time, ensuring optimal flavour and texture.
So, how do you determine if your beans are mature enough to harvest? Start by inspecting the pods. Mature pods should feel firm and crisp, with no signs of shrivelling or wilting. Additionally, the colour of the pods will change from green to a light, creamy white, or even beige.
Now, let’s move on to the next step in the harvesting process.
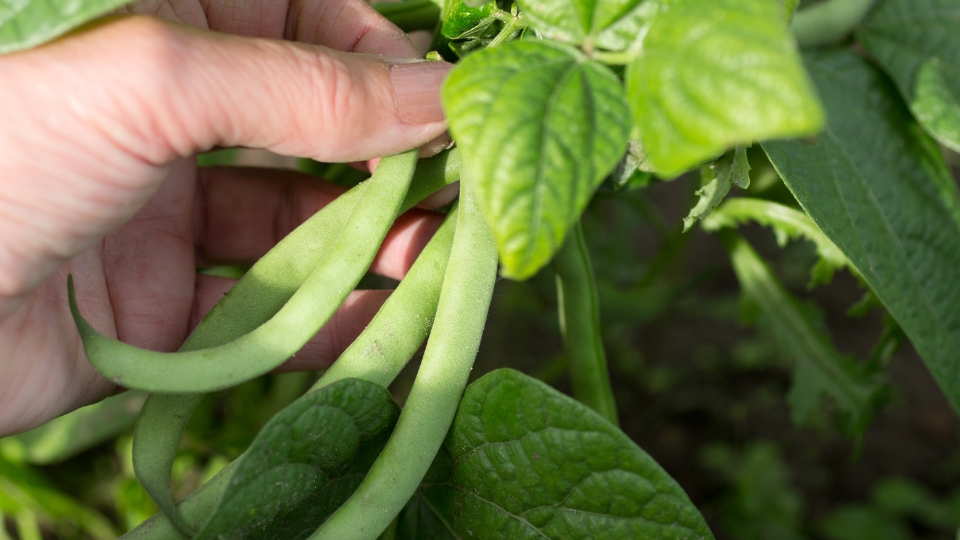
Picking Pods At The Right Time
Picking your Great Northern bean pods at the right time is crucial for achieving the best results. Here are some key indicators to look out for:
- Pod size: Harvest your beans when the pods reach their full size, typically around 6 to 8 inches in length.
- Pod color: As mentioned earlier, the pods should be cream or beige, indicating that the beans inside are fully matured.
- Pod texture: Gently squeeze the pods. If they feel firm and plump, it’s a good sign that the beans are ready to be picked.
Regularly check your plants for mature pods, as timing is crucial for preserving the quality and flavour of your Great Northern beans.
Handling Harvested Beans
Once you’ve harvested your Great Northern beans, handling them carefully is essential to preserving their freshness and taste. Here are some tips for proper bean handling:
- Washing: Give your harvested beans a gentle rinse to remove dirt or debris. Ensure you do not use excessive force, which could damage the beans.
- Drying: After washing, spread the beans out on a clean towel or paper towel to air dry. This will help prevent moisture buildup and potential mold growth.
- Storage: Transfer your dried Great Northern beans to an airtight container or a plastic bag with the air squeezed out. Store them in a cool, dry place away from direct sunlight.
By following these simple steps, you can ensure that your harvested Great Northern beans retain their quality and flavour for as long as possible.
Great Northern Beans: Storing And Using
Once you’ve harvested your bountiful crop of Great Northern beans, storing them properly to maintain their freshness and flavor is essential. The right storage methods will extend the shelf life of your beans, allowing you to enjoy them for months to come.
Additionally, exploring different preservation and cooking techniques can unlock culinary possibilities. Let’s explore the best ways to store and use your Great Northern beans.
Drying Beans For Long-term Storage
Drying is a traditional method of preserving beans that ensures they retain their quality over an extended period. The process involves removing moisture from the beans, depriving them of the moisture that bacteria and mold need to thrive. To dry your Great Northern beans:
- Harvest fully matured bean pods, ensuring they are dry and crisp.
- Shell the beans, discarding any damaged or discolored ones.
- Spread the beans in a single layer on a clean, dry surface, allowing them to air dry completely. This may take a few weeks.
- Once dry, store the beans in an airtight container in a cool, dry place away from direct sunlight. Mason jars or food-grade plastic containers work well for this purpose.
Freezing Or Canning For Preservation
If you prefer to preserve your Great Northern beans using modern techniques, freezing or canning is an excellent option. Both methods lock in the beans’ freshness and ensure they remain flavorful. Here’s how to proceed:
Freezing:
- Blanch the beans by plunging them into boiling water for 2 to 3 minutes.
- Immediately transfer the beans to an ice bath to cool and stop cooking.
- Drain the beans and pat them dry.
- Place the beans in freezer-safe containers, leaving some headspace for expansion.
- Label the containers with the date and store them in the freezer.
Canning:
- Prepare canning jars and lids by sterilizing them with hot, soapy water.
- Follow a trusted canning recipe for canning beans using a pressure canner.
- Fill the jars with beans, leaving the recommended headspace.
- Secure the lids and process the jars according to the recipe’s instructions.
- Allow the jars to cool, ensuring they seal properly, and then store them in a cool, dark place.
Cooking Methods And Recipes
Great Northern beans are incredibly versatile and can be used in many delicious dishes. Here are a few cooking methods and recipe ideas to inspire your culinary adventures:
Cooking methods:
- Boiling: Bring a pot of water to a boil, add the beans, and simmer until tender.
- Pressure cooking: Utilize the convenience of a pressure cooker to cook beans quickly.
- Slow cooking: Simmer the beans in a slow cooker for hours to create a rich, flavorful dish.
Recipes:
| Recipe | Description |
|---|---|
| White Bean and Kale Soup | A hearty and nutritious soup packed with beans and leafy greens. |
| Bean and Vegetable Salad | A refreshing salad featuring beans, fresh vegetables, and a tangy dressing. |
| Bean and Sausage Stew | A comforting stew with beans, sausage, and flavorful spices. |
You can make the most of your Great Northern beans with these cooking methods and recipe suggestions. Whether you’re seeking a warm bowl of soup or a wholesome salad, these versatile beans will nourish and flavour your meals.
Great Northern Beans Troubleshooting Common Issues
While planting Great Northern beans can be a rewarding experience, it’s not uncommon to face a few challenges along the way. Understanding how to troubleshoot common issues can help you achieve a successful harvest.
This section will address the most frequently encountered problems growing Great Northern beans: yellowing leaves and nutrient deficiencies, root rot, and common diseases and remedies.
Yellowing Leaves And Nutrient Deficiencies
If you notice the leaves of your Great Northern bean plants turning yellow, it may indicate nutrient deficiencies. To maintain healthy foliage and promote growth, it is essential to provide the plants with the proper nutrients.
Here are the most common nutrient deficiencies that cause yellowing leaves and how to address them:
Nutrient Deficiency
- Yellowing leaves, starting from the bottom upwards
- Discoloration spreads to the entire plant
- Stunted growth
Correct the deficiency by providing the necessary nutrients through fertilization. Consider using a balanced fertilizer with adequate nitrogen, phosphorus, and potassium.
Dealing With Root Rot
Root rot is a common issue that affects the health of Great Northern bean plants. It occurs when the roots are exposed to excessive moisture, leading to the growth of fungal pathogens. Here’s how you can detect and prevent root rot:
Symptoms of Root Rot
Preventive Measures
- Ensure proper drainage by planting beans in loose soil or raised beds.
- Avoid overwatering; allow the soil to dry slightly between waterings.
- Rotate crops to prevent the buildup of pathogens in the soil.
Common Diseases And Remedies
Great Northern beans are susceptible to various diseases, significantly affecting their yield. Here are some common diseases and the remedies to combat them:
Anthracnose
- Sunken, dark spots on leaves, stems, and pods.
- Spots surrounded by a reddish-brown border.
Apply a fungicide labeled for use against anthracnose and follow the manufacturer’s instructions. Also, proper plant spacing and ventilation should be ensured to minimize high humidity, which promotes disease development.
Bacterial Blight
- Irregular-shaped, water-soaked spots on leaves and pods.
- Spots turn brown and become sunken.
Remove and destroy infected plants to prevent the spread of bacteria. Avoid overhead watering and thin plants for better air circulation. Applying copper-based fungicides can also help control the disease.
By promptly identifying and addressing these common issues, you can give your Great Northern beans the best chance to thrive and produce a bountiful harvest.
Frequently Asked Questions For How To Plant Great Northern Beans
How Do You Plant Northern White Beans?
To plant northern white beans: prepare well-drained soil in a sunny location, sow the seeds directly 2 inches deep, space them 2-3 inches apart, and water regularly. Avoid overwatering, and make sure to provide support as the plants grow. Harvest when the pods are dry and the leaves have turned yellow.
What Is The Best Way To Plant Beans?
To plant beans effectively: 1. Choose a sunny spot with well-drained soil in your garden or container. 2. Sow seeds 1-2 inches deep, spacing them 4-6 inches apart. 3. Water regularly, keeping the soil moist but not soggy. 4. Provide support like trellises or stakes for climbing bean varieties. 5. Harvest when the beans are fully grown before they become overripe.
Do Beans Need To Be Planted Deep?
No, beans do not need to be planted deep. Plant beans at a depth of 1 to 2 inches in loose soil.
Last Decision
Planting great northern beans can be a rewarding experience for any gardener. You can ensure a successful and bountiful harvest by following the steps outlined in this blog post. Every aspect has been covered, from choosing the right location to proper soil preparation and watering techniques.
Remember to monitor the growth of your beans and stay consistent with any necessary maintenance. Happy planting!
Video Source By Youtube: https://www.youtube.com/watch?v=8rLdm0V6BGk

