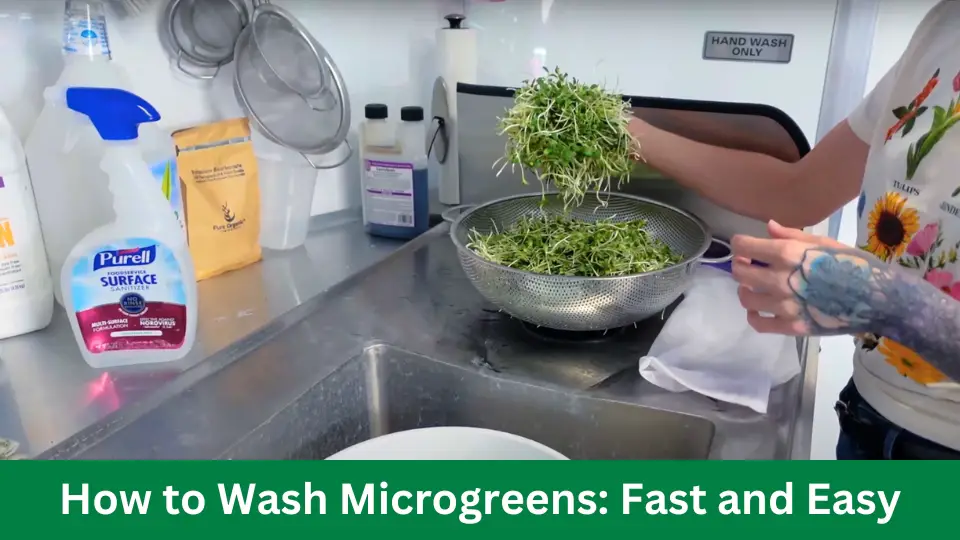
To wash microgreens, gently rinse them under cold water, and pat dry with a paper towel. Ensure the water flow is light to avoid damaging the delicate leaves.
Microgreens, the young seedlings of vegetables and herbs, are packed with nutrients and have gained popularity for their culinary versatility and health benefits. They require a delicate touch to maintain their structural integrity and nutritional value when washing. Washing microgreens isn’t just about cleanliness; it’s essential for food safety.
Given their typically raw consumption, removing dirt and potential pathogens is crucial. The process should be straightforward and gentle to help extend their shelf life and keep them crisp for your next healthy meal or garnish. Remember, handle these tender greens with care, and they will add a burst of flavor and color to any dish.
The Importance Of Clean Microgreens
Maintaining clean microgreens is crucial for your health and enjoyment. These tiny greens pack a powerful punch. They can brighten up your meals with both nutrition and flavor. But they can also harbor harmful bacteria if not washed properly. Let’s explore the reasons for keeping your microgreens clean.
Health Benefits And Safety Concerns
Microgreens boast significant health advantages. They come packed with vitamins, minerals, and antioxidants. Ensuring they are clean can prevent the risk of foodborne illnesses.
Dirty greens may contain pathogens like E. coli or Salmonella. Such bacteria can cause serious health issues. A proper wash eliminates these threats, allowing you to enjoy microgreens’ health perks without worry.
- High in Nutrients: Vitamins A, C, and K; iron, magnesium, and potassium are just some rewards.
- Low-Calorie Foods: Integrate them into your diet for their low-calorie benefits.
- Safety First: Washing reduces the risk of bacteria, which can lead to sickness.
Impact On Taste And Shelf Life
Clean microgreens taste better. They retain their fresh flavor and texture. Dirt or residual chemicals can spoil their natural taste, leaving an unpleasant bitterness.
Moreover, proper washing can extend the shelf life of microgreens. Moisture control is key. Pat them dry after washing to prevent wilting and spoilage.
| Action | Impact on Taste | Impact on Shelf Life |
|---|---|---|
| Washing | Removes impurities for a fresher taste | Can extend shelf life when dried properly |
| Drying | Prevents sogginess, preserving the texture | Reduces the potential for microbial growth |
Identifying Microgreens In Your Kitchen
Sparkling emerald and bursting with nutrition, microgreens are tiny yet mighty. Do you have these little wonders in your kitchen? Whether you’re a culinary expert or a novice chef, understanding how to identify microgreens is key.
These little greens pack a punch of flavor and are a powerhouse of nutrition. Let’s dive into how you can spot and classify them!
Common Types Of Microgreens
Enter the vibrant world of microgreens. Each type has its own distinct flavor, texture, and color.
- Arugula – Peppery and nutty, with vibrant green leaves
- Radish – Crisp and spicy, often in shades of purple and white
- Kale – Mild and earthy, with a rich green hue
- Pea Shoots – Sweet and tender, typically a light green color
- Sunflower – Nutty and crunchy, with large, yellow-green leaves
Harvesting Your Own Vs. Store-bought
Microgreens can either be harvested fresh from your home garden or picked up from your local grocery store.
| Harvesting Your Own | Store-Bought |
|---|---|
| Picked fresh, offering peak flavor and nutrition | Convenient, yet may lose some freshness in transit |
| Ensures no pesticides or chemicals if grown organically | Look for organic certifications to ensure quality |
| It gives you control over the growing environment and timeline | Requires trust in your food retailer or supplier’s practices |
Preparing For The Wash Cycle
Before diving into the washing, it’s vital to set it up correctly. This step ensures your microgreens come out fresh and clean, ready for eating.
Proper preparation avoids contamination and preserves the delicate nature of these nutritious greens. Follow these simple steps to get ready for the wash cycle.
Gathering Necessary Supplies
Gather all needed items before beginning. This makes the process smooth and efficient.
- Large bowl – for soaking microgreens
- Colander – to drain them after washing
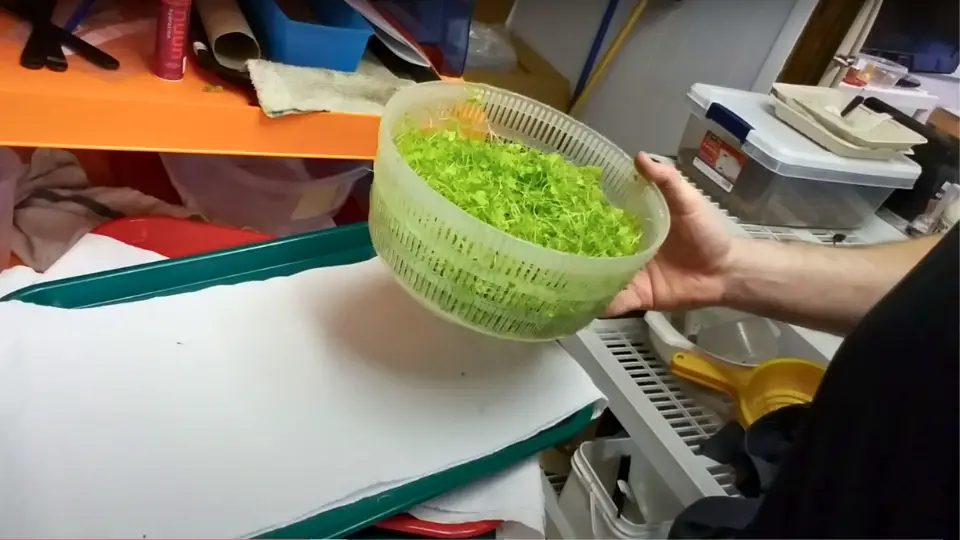
- Salad spinner – to remove excess water
- Clean towels or paper towels – for drying greens
- Cool water – as hot water can wilt microgreens
Creating A Clean Workspace
It’s essential to have a sanitized area for washing your microgreens. Start with these steps:
- Clean your countertop with a safe disinfectant.
- Clear the space of any items not related to washing microgreens.
- Incorporate a clean drying area with towels laid out.
- Ensure hands are washed thoroughly before handling the greens.
After everything is in place, the actual washing can begin. Following these guidelines ensures your microgreens are cleaned hygienically, retaining their quality and taste.
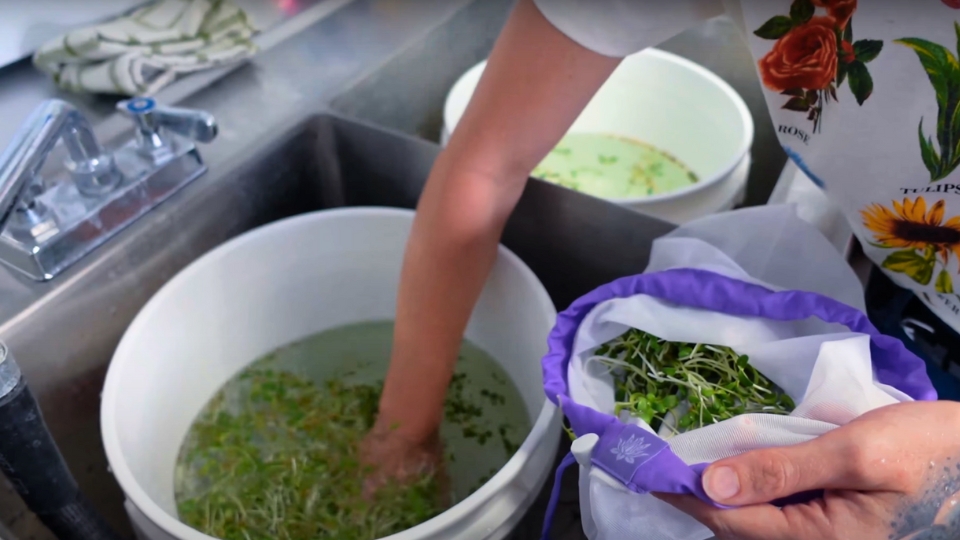
Initiating The Cleaning Process
Microgreens pack a punch, both in nutrients and flavor. But before these tiny leafy greens reach your plate, they need a proper wash. Cleaning them right preserves their delicate structure while ensuring they eat safely. Let’s start the process.
Trimming Roots And Damaged Leaves
Care begins with a gentle touch. Trim roots and remove any wilted or browned leaves. This step is crucial for eliminating bacteria and maintaining freshness.
- Use clean scissors to snip the roots.
- Pick out any leaves that don’t look fresh.
Rinsing Techniques 101
Rinsing microgreens is an art. Gentle flow and cold water are the secrets. Here’s how to do it:
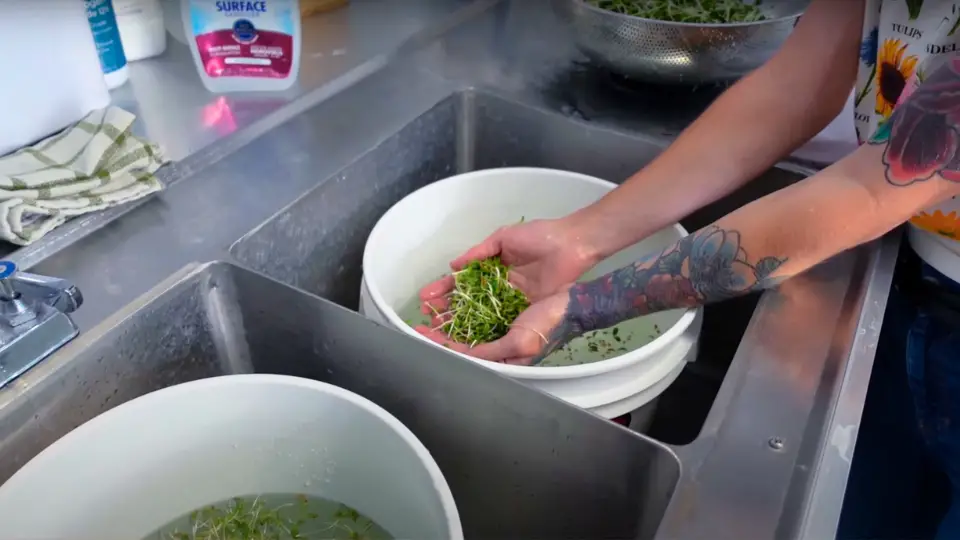
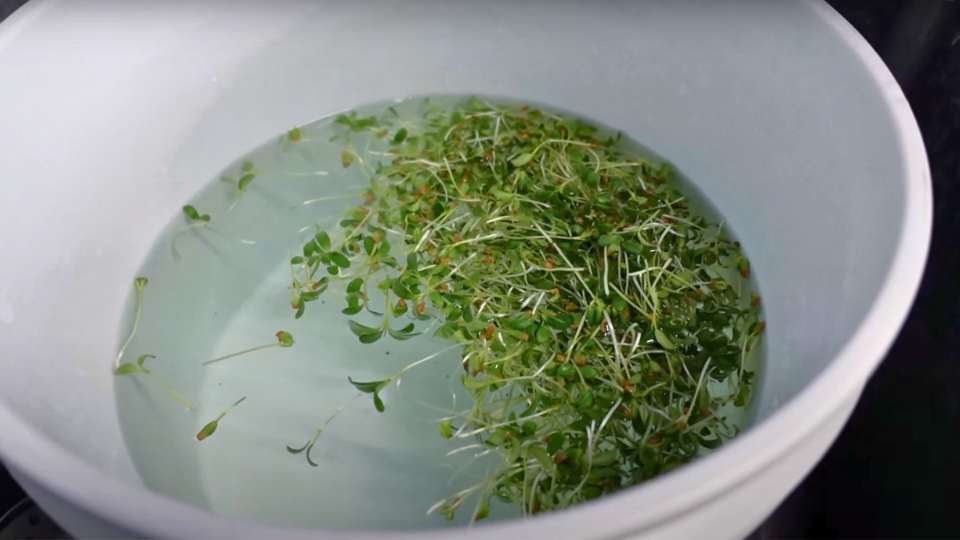
- Fill a bowl with cold water.
- Submerge greens and swish lightly.
- Lift out greens and let water drain.
- Repeat if needed.
| Step | Action | Tip |
|---|---|---|
| 1 | Fill bowl | Use cold water |
| 2 | Submerge and swish | Be gentle |
| 3 | Lift and drain | Avoid squashing |
| 4 | Repeat rinse | Ensure cleanliness |
Protecting your microgreens’ tender leaves during their bath rewards you with a garden-fresh taste in every bite.
The Soaking Method Explained
Welcome to the fresh world of microgreens! Keeping these tiny greens clean is essential for health and flavor. Today, let’s dive into the soaking method, a gentle and effective way to wash microgreens.
Temperature And Duration
Getting the temperature right is crucial. Microgreens are delicate, so cold water works best. Cold water keeps them crisp while washing away impurities. A quick soak is all you need.
- Fill a bowl with cold water.
- Submerge microgreens for about one to two minutes.
- Gently stir to ensure thorough cleaning.
Keep it short. Oversoaking may damage the microgreens.
Ensuring Even Exposure
To ensure all parts of your microgreens get clean, follow these simple steps:
- Use a large enough bowl for microgreens to float.
- Swirl them gently with your hands.
- Flip any clusters that stick together.
Even exposure makes sure each leaf gets a thorough rinse.
After soaking, drain well. Use a colander to remove all water.
| Step | Description |
|---|---|
| 1. Swirl | Move microgreens in a circular motion. |
| 2. Flip | Turn over any pieces sticking together. |
| 3. Drain | Let the water flow away from the greens. |
Drying is next. Pat your greens with a paper towel, or spin them in a salad spinner. This method keeps your microgreens clean and crisp.
Drying Microgreens Post-wash
After washing your microgreens, it’s crucial to dry them properly. Properly dried microgreens last longer and taste fresher.
Drying is as important as washing; it involves removing excess water gently without damaging the delicate greens. Let’s dive into the best ways to dry microgreens effectively.
Patting Vs. Air-drying
Drying techniques can be divided into two main categories: patting dry and air-drying. Both methods aim to minimize moisture while preserving the tender leaves.
- Patting Dry: Gently pressing microgreens between towels. This method is quick but requires a soft touch to avoid bruising.
- Air-Drying: Let microgreens dry on their own. This method is slower but reduces the risk of damage.
Tools For Effective Drying
Efficient drying requires the right tools. Here are some recommended items:
| Tool | Use |
|---|---|
| Salad Spinner | Removes water quickly with spin action. |
| Absorbent Towels | Pat dry without damaging leaves. |
| Mesh Rack | Provides airflow for even drying. |
Salad spinners work great by using centrifugal force to shed water. Absorbent towels, like microfiber or paper towels, pat dry without bruising. Mesh drying racks promote air circulation, reducing drying time and preventing mold. Choose your tools based on microgreens’ delicacy and your drying preference.
Storage Solutions For Freshness
Keeping microgreens fresh after washing is crucial. Freshness means more flavor and nutrients. Proper storage solutions ensure microgreens last longer and stay crisp. Let’s explore smart ways to store your delicate greens.
Refrigeration Tips
Use your fridge wisely—microgreens like a cool, consistent environment. Aim for 4°C (39°F) for optimal freshness. Pre-chill your storage containers before placing the greens inside. This helps maintain a steady temperature.
- Avoid high-traffic areas of the fridge where the temperature fluctuates.
- Keep away from ethylene-producing fruits like apples and bananas.
- Use breathable containers. Airtight options can lead to moisture build-up and spoilage.
Longevity In The Crisper Drawer
The crisper drawer is a microgreen best friend. It’s designed to hold humidity, which microgreens love.
| Tip | Action |
|---|---|
| Line the Drawer | Use paper towels to absorb excess moisture. |
| Gap for Airflow | Don’t overpack. Leave room for air. |
| Monitor Humidity | Use the drawer’s slider to adjust humidity. |
Regularly check the drawer for any signs of spoilage. Remove wilted leaves to prevent them from affecting the batch.
Tackling Common Issues And Faqs
Dealing with issues when washing microgreens keeps your greens safe and tasty. This section covers common problems and answers frequently asked questions.
Mold And Mildew Prevention
Mold and mildew can ruin microgreens. Good air circulation is key. Here are preventive tips:
- Water carefully: Only water at the base to keep leaves dry.
- Room to breathe: Space plants out for air to flow.
- Clean tools: Use sterile equipment to avoid mold spread.
For existing mold, a gentle vinegar solution can help. Mix one part of vinegar with three parts of water and lightly spray the greens. Rinse with clean water before eating.
Addressing Common Concerns
Ever wonder about the best way to wash your microgreens? Here’s a quick guide:
| Concern | Solution |
|---|---|
| Uneven washing | Use a salad spinner for even, gentle washing. |
| Water temperature | Use cold water to keep greens crisp. |
| Water waste | Reuse rinse water for watering plants. |
Remember, dry microgreens thoroughly. A salad spinner is great. Pat with paper towels if no spinner is available. Drying helps extend shelf life.
Frequently Asked Questions Of How To Wash Microgreens
Do Microgreens Need To Be Rinsed?
Microgreens should be rinsed before eating to remove dirt and potential bacteria. It’s best to wash them gently under cool water just before consumption to maintain freshness.
How Do You Disinfect Microgreens?
To disinfect microgreens, gently rinse them with a diluted bleach solution (1 teaspoon bleach per gallon of water) or use food-grade hydrogen peroxide. Air dry thoroughly before consumption. Always follow safety guidelines for handling chemicals.
Do You Have To Wash Microgreens Before Eating?
Yes, wash microgreens before eating to remove residues and soil for safety and hygiene. Rinse gently in cold water, then pat dry.
Conclusion
Washing your microgreens is a simple yet crucial step. It ensures safety and enhances your meal. With the right technique, these delicate greens can be cleaned effectively without damage. Keep these tips in hand for fresh, ready-to-eat microgreens every time.
Happy washing and crunch away!
Video Source: https://www.youtube.com/watch?v=i8x72fuSEDw&t=454s

