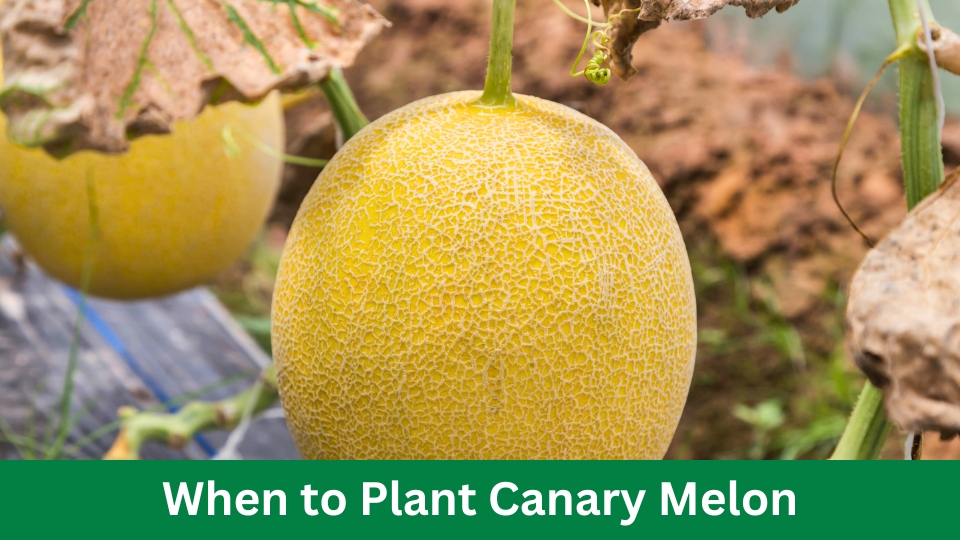
The canary melon should be planted in the spring when soil temperatures reach 60–65 °F. Growing canary melon is a delightful addition to any garden.
This juicy melon will smell lovely and make a great gift for friends and family. But for a good yield, timing is essential when planting canary melon. Canary melon is best planted in the spring when soil temperatures are between 60 and 65°F.
This enables the plants to establish healthy growth and the seeds to germinate. This advice will guarantee a plentiful crop of succulent, tasty Canary melons. Prepare to revel in the fruits of your hard work and plant this delicious melon in the spring.
Understanding How to Plant Canary Melon
The pleasant and colourful canary melon, sometimes called the variegated or sweet melon, is a member of the melon family. Fruit lovers like it for its distinctive sweet taste and vivid yellow colour.
We’ll explore the main characteristics of canary melon in this part, including what it is, how healthy it is, and popular kinds.
What is a Canary Melon?
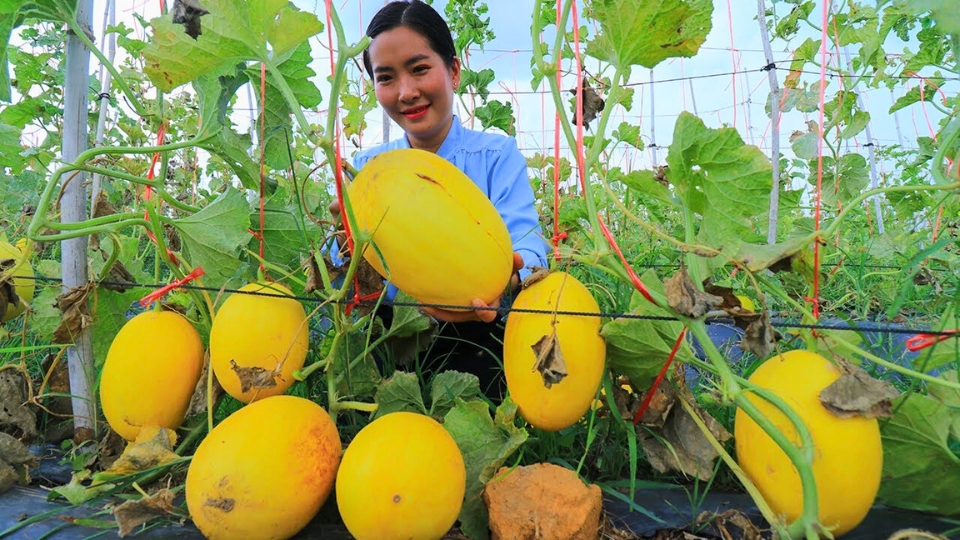
A canary melon is a large, oval-shaped fruit with succulent, juicy flesh and a smooth, bright yellow rind. It tastes sweet and is bigger than a regular melon.
People typically equate it to a cross between a cantaloupe and a honeydew melon. The canary melon’s name comes from its colour, which is similar to a canary bird’s.
Nutritional Value Of Canary Melon
Canary melon is not only delicious, but it also offers a range of health benefits. It is a low-calorie fruit that is packed with essential nutrients. Here is the nutritional value of canary melon per 100 grammes:
| Nutrient | Amount |
|---|---|
| Calories | 34 |
| Carbohydrates | 8 grammes |
| Fiber | 1.2 grammes |
| Vitamin C | 58% of daily value |
| Vitamin A | 13% of daily value |
| Potassium | 8% of daily value |
Popular Varieties Of Canary Melon
Canary melon comes in different varieties, each with its own unique characteristics. Here are some popular varieties:
- Spanish melon: This variety has a firm, sweet flesh with a mild flavour. It is often smaller in size compared to other varieties.
- Amarillo melon: Known for its bright yellow colour and juicy, aromatic flesh, it is highly sought after for its sweetness.
- Blonde de Canaries melon – This variety has a pale yellow rind and a crisp texture. It is renowned for its exceptional sweetness.
Now that you have a better understanding of canary melon, its nutritional value, and popular varieties, you can explore the world of this delicious and unique fruit.
Preparing The Soil for Canary Melon
Soil preparation is essential before canary melanza planting to guarantee maximum development. Gardeners may optimize their melon harvest by developing a well-drained, nutrient-rich environment.
The lovely fruits known as canary melons have particular soil needs. Your canary melon plants will have the highest chance of success if the soil is prepared correctly before planting. Selecting the ideal plant position, adding organic matter, enhancing drainage, and assessing soil quality are all necessary. I’ll go into greater depth about each process.
Testing The Soil Quality
It’s important to assess your soil before planting canary melon. This can be accomplished by performing a basic soil test. This will help determine the soil’s pH, nutrient content, and texture.
Knowing the soil’s pH level is essential because canary melons are slightly acidic soil, with a pH range of 6.0 to 6.8. Using soil amendments, you may need to modify the pH if it is too high or too low.
Improving Soil Drainage
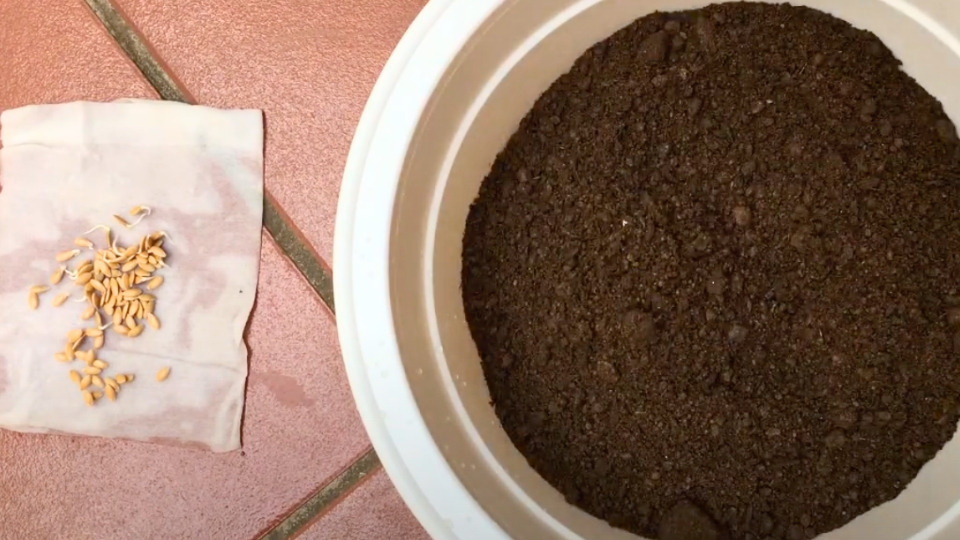
Canary melons require well-drained soil to prevent waterlogged roots, which can lead to plant disease and stunted growth. Improving soil drainage is especially important if you have heavy clay soil.
To improve drainage, incorporate organic matter, such as compost or aged manure, into the soil. This will help loosen compacted soil and improve its ability to drain excess water.
Adding Organic Matter
Adding organic matter to the soil is crucial for growing healthy canary melon plants. Organic matter improves soil structure, helps retain moisture, and provides essential nutrients.
You can add compost, well-rotted manure, or other organic materials to your soil. Mix a layer of organic matter over the planting area and into the top few inches of soil. This will enrich the soil and promote healthy root growth.
Choosing The Right Location
Selecting the right location for your canary melon plants is vital for their growth and productivity. These plants require full sun exposure to thrive, so choose a spot in your garden that receives at least six to eight hours of direct sunlight daily. Additionally, ensure that the chosen location has good air circulation to reduce disease risk.
Avoid planting canary melon near trees or other tall plants that may shade them or compete for nutrients. Preparing the soil before planting canary melon is essential for creating an optimal growing environment.
By testing the soil quality, improving drainage, adding organic matter, and selecting the right location, you can set your canary melon plants up for success. Taking these steps will enhance the soil’s fertility, aeration, and water-holding capability, ensuring healthy growth and delicious melons in the future.
Climate And Temperature Considerations for Planting Canary Melon
When it comes to growing canary melon, understanding the climate and temperature requirements is crucial.
The ideal climate for canary melon, the temperature requirements, and frost protection measures are key factors to consider for a successful harvest.
Ideal Climate For Canary Melon
Canary melon thrives in warm and sunny climates, making it ideally suited for tropical and subtropical regions. It requires a long growing season with plenty of sunlight to produce sweet and flavorful fruit.
However, it can also be grown in areas with shorter growing seasons with proper care and cultivation techniques.
Here are the key climate conditions that are most favorable for canary melon:
- Temperature: Canary melon prefers warm temperatures ranging between 70°F (21°C) and 85°F (29°C).
- Sunlight: These melons require full sun exposure for at least 6 to 8 hours a day. Ensure that they are planted in an area with ample sunlight to promote healthy growth.
- Rainfall: Canary melon needs adequate drainage, so avoiding excessively wet conditions is essential. A moderate to dry climate is preferred, and you can supplement irrigation during drier periods.
- Soil Type: Well-draining soil with a pH level between 6.0 and 7.5 is ideal for canary melon. Add organic matter, or compost, to improve soil fertility and drainage.
Temperature Requirements
Canary melon has specific temperature requirements to thrive during different stages of growth. Understanding these requirements will help ensure optimal conditions for your melon plants.
The temperature considerations for canary melon are as follows:
- Germination: For successful germination, maintain a consistent soil temperature between 70°F (21°C) and 85°F (29°C).
- Seedling Growth: Once the seeds have germinated, the ideal temperature range for seedling growth is between 60°F (16°C) and 75°F (24°C).
- Vegetative Growth: During the vegetative growth stage, aim for a temperature range of 75°F (24°C) to 85°F (29°C). This will encourage robust foliage development.
- Flowering and Fruit Set: When the plant starts flowering, maintaining temperatures between 70°F (21°C) and 85°F (29°C) is crucial for a successful fruit set.
Frost Protection Measures
Since canary melon is sensitive to frost, protecting the plants from cold temperatures is vital, particularly when growing in cooler climates or during late spring frosts. Follow these measures to safeguard your canary melon plants:
- Covering: When frost is expected, use row covers or plastic sheets to cover the plants overnight. This will provide some insulation and protect against freezing temperatures.
- Mulching: Apply a layer of organic mulch around the base of the plants to insulate the soil, regulate temperature, and prevent frost damage.
- Microclimates: Consider planting canary melon near heat-retaining structures like walls or fences. These structures can create a microclimate, offering some protection against frost.
When to Plant Canary Melon and Planting Techniques
Knowing the right planting techniques is crucial for a successful canary melon harvest. By understanding the different methods of planting, you can ensure that your melon plants grow healthy and produce an abundance of delicious fruit.
This section will discuss three planting techniques for canary melon: direct seed sowing, transplanting seedlings, spacing and depth, and caring for young plants.
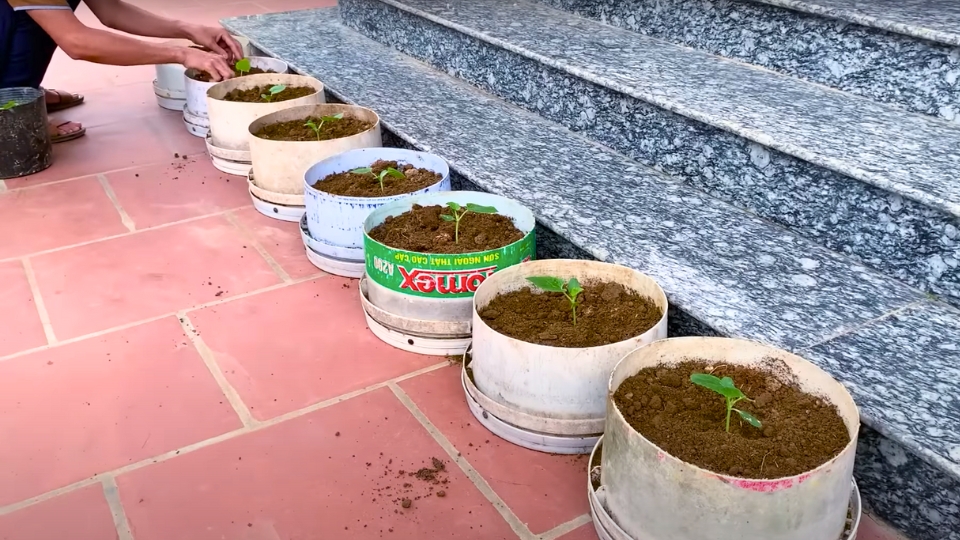
Direct Seed Sowing
Direct seed sowing involves planting canary melon seeds directly into the garden soil. This method is straightforward and suitable for those who prefer a hands-on approach. Follow these steps for direct seed sowing:
- Choose a sunny location in your garden with well-draining soil.
- Prepare the soil by removing any weeds and loosening it with a garden fork or tiller.
- Sow the canary melon seeds about 1 inch deep, spacing them according to the recommended distance.
- Water gently to keep the soil moist, but not waterlogged.
- Provide a trellis or other support for the vines as they grow.
Transplanting Seedlings
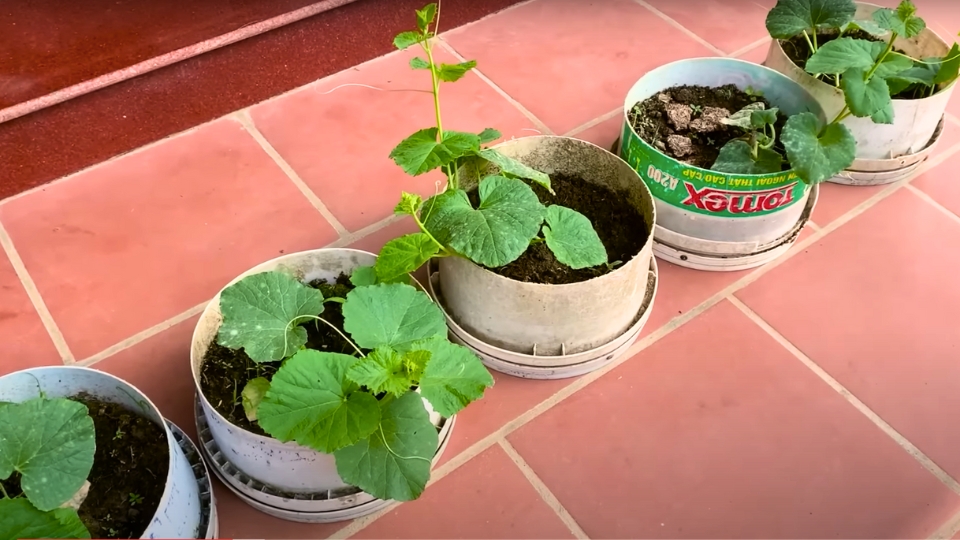
Transplanting seedlings is an alternate method for planting canary melons. This technique allows you to start your melon plants indoors and then transfer them to the garden when they are strong enough. Here’s how to transplant seedlings:
- Start your canary melon seedlings indoors 3–4 weeks before the last frost date.
- Fill seed trays or pots with a well-draining potting mix.
- Plant one seed per container, about 1 inch deep.
- Place the containers in a warm and sunny location, ensuring they receive proper moisture.
- After the danger of frost has passed, transplant the seedlings into the garden, spacing them according to the recommended distance.
Spacing And Depth
Proper spacing and planting depth are essential for canary melon plants to thrive. Follow these guidelines for spacing and depth:
| Planting Technique | Spacing | Depth |
|---|---|---|
| Direct Seed Sowing | 4-6 feet between rows | 1 inch deep |
| Transplanting Seedlings | 2-3 feet between plants | 1 inch deep |
Caring For Young Plants
Once your canary melon plants have sprouted, they must be provided with proper care to ensure healthy growth. Here are some tips for caring for young plants:
- Water regularly, keeping the soil evenly moist but not waterlogged.
- Mulch around the plants to help retain moisture and suppress weed growth.
- Remove any weeds that compete with the melon plants for nutrients.
- Fertilise the plants every 2-3 weeks with a balanced organic fertilizer.
- Monitor for pests and take appropriate action if necessary.
- Support the vines with trellises or stakes as they grow to prevent damage.
Canary Melon Watering And Irrigation
Proper watering and irrigation are essential for canary melons’ healthy growth and development. This section will discuss the water requirements of canary melons, optimal irrigation methods, and the importance of avoiding overwatering.
Water Requirements
Canary melons require a consistent supply of water to thrive. Adequate moisture is necessary for seed germination, plant establishment, and fruit development. These melons have moderately high water needs and will suffer if they do not receive enough moisture.
In general, canary melons should be watered deeply but infrequently. It is important to ensure the soil around the melon plants stays evenly moist but not saturated. A good rule of thumb is to water canary melons deeply once a week or whenever the top few inches of soil feel dry.
Optimal Irrigation Methods
When it comes to irrigating canary melons, there are a few methods that work particularly well. Drip irrigation is highly recommended for these melons, as it delivers water directly to the plant’s root zone while minimizing evaporation and weed growth.
This method allows for a slow and steady supply of water, promoting efficient water usage and reducing the risk of disease.
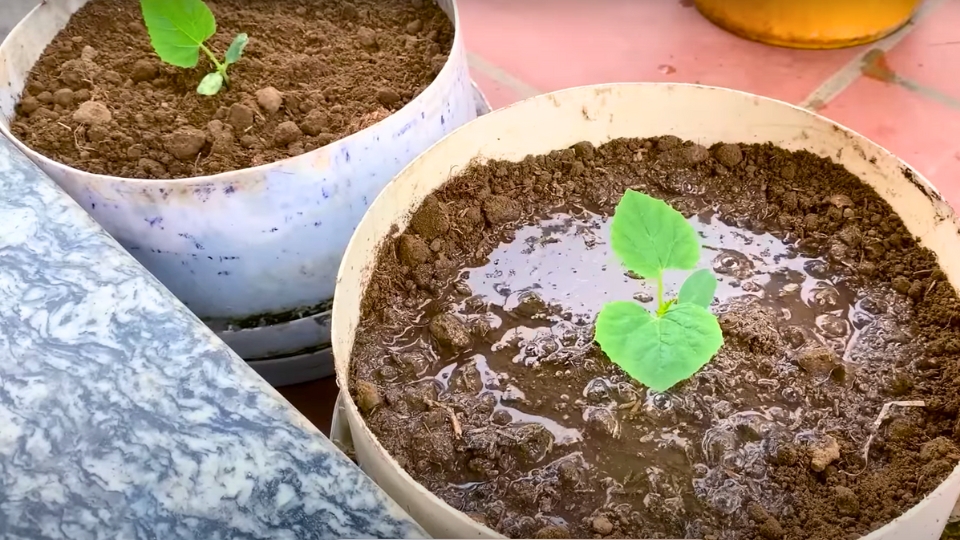
Another effective irrigation method for canary melons is the use of soaker hoses. These hoses lay along the plants’ base and gradually release water into the soil.
Soaker hoses ensure that the water reaches the roots without wetting the melon foliage, which can lead to fungal diseases.
Avoiding Overwatering
Overwatering can be detrimental to the growth of canary melons and can lead to root rot and other diseases. It is important to strike the right balance and avoid excessive watering.
To prevent overwatering, it is essential to monitor the soil moisture regularly. Before watering, check the moisture level by inserting your finger into the soil. Hold off on watering if it feels damp at a depth of 2–3 inches. Overwatering can also be avoided by ensuring proper drainage in the planting area and using well-draining soil.
Remember, it’s better to go slightly underwater than overwater canary melons. These plants are quite resilient and can tolerate temporary drought conditions. Monitoring the moisture levels and providing just the right amount of water will promote healthy growth and delicious, juicy melons.
Fertilising Canary Melon
One of the most crucial aspects of successfully growing canary melon is providing it with the right nutrients. Fertilizing canary melon ensures the plants receive the necessary nourishment to promote healthy growth and abundant fruit production.
This section will explore understanding nutrient needs, the difference between organic and synthetic fertilizers, and the importance of applying fertilizers at the right time.
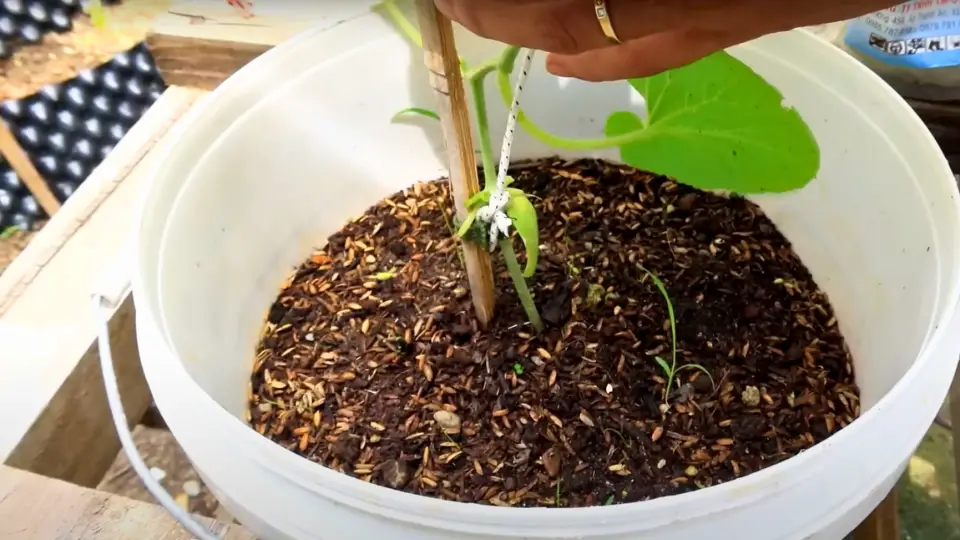
Understanding Nutrient Needs
Canary melon plants have specific nutrient requirements that must be met for optimal growth. Before fertilizing your plants, it is essential to understand their nutrient needs.
The three primary nutrients that are vital for healthy canary melon plants are:
- Nitrogen (N): Nitrogen is essential for leaf and stem development.
- Phosphorus (P): Phosphorus promotes root growth and the development of flowers and fruits.
- Potassium (K): Potassium aids in overall plant health, disease resistance, and fruit quality.
By ensuring that your fertilizers contain the right balance of these nutrients, you can provide your canary melon plants with the foundation they need to thrive.
Organic Vs. synthetic Fertilisers
When it comes to fertilizing canary melon, you have two options: organic or synthetic fertilizers. Each type has its advantages and disadvantages.
| Organic Fertilisers | Synthetic Fertilisers |
|---|---|
| Derived from natural sources like compost, manure, or seaweed. | Manufactured from chemical compounds in a controlled environment. |
| Nutrients are released slowly, providing a continuous supply. | Nutrients are immediately available for the plant’s uptake. |
| Enhance soil structure and microbial activity. | Can deliver specific nutrient ratios tailored to the plant’s needs. |
Applying Fertilisers At The Right Time
To ensure your canary melon plants receive the maximum benefit from fertilisers, it is crucial to apply them at the right time.
- Pre-Planting: Before sowing the seeds or transplanting seedlings, incorporate organic matter or slow-release fertilisers into the soil to enrich its nutrient content.
- Early Growth Stage: Once the plants have established and started growing, provide a balanced fertiliser or a specialised formula with a higher nitrogen content to support vigorous vegetative growth.
- Flowering Stage: As the plants transition into the flowering stage, switch to a fertiliser with a higher phosphorus content to encourage robust flower and fruit development.
- Mid-Season Boost: Around midway through the growing season, a side dressing of additional fertiliser rich in nitrogen and potassium can help sustain healthy growth and fruit production.
Following these guidelines ensures that your canary melon plants receive the right nutrients at the right time, leading to a bountiful harvest.
Canary Melon Pest And Disease Management
To effectively manage pests and diseases in canary melon plants, selecting the right time for planting is crucial. Proper timing can minimise the risk of infestations and ensure the health and productivity of the crop.
Pests and diseases can significantly threaten the success of your canary melon plants. Understanding the common pests and diseases that affect canary melon and implementing preventive measures and natural pest control methods can help ensure a healthy and bountiful harvest.
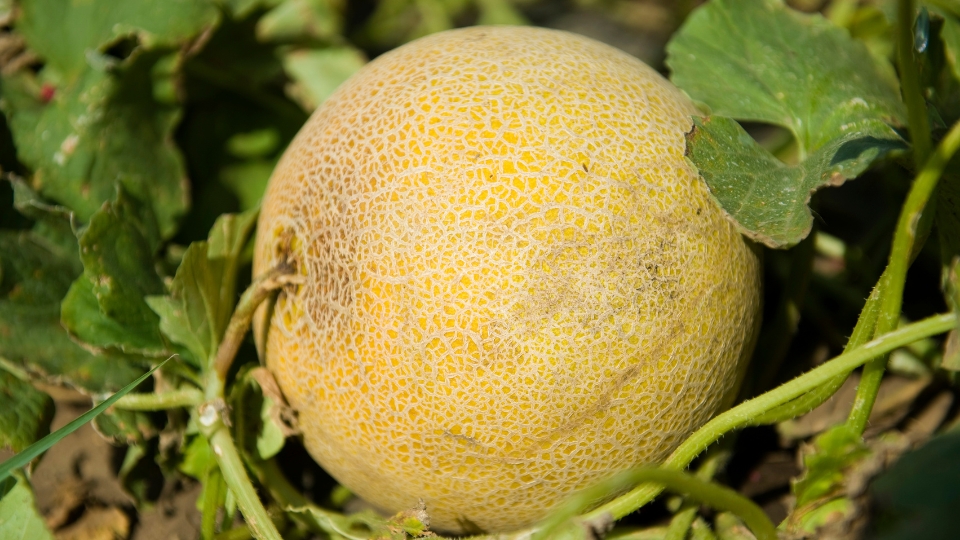
In this section, we will explore the common pests that affect Canary Melon, the preventive measures you can take to protect your plants, and natural methods for controlling pests.
We will also discuss how to identify and treat diseases that may affect your canary melon plants.
Common Pests Affecting Canary Melon
When growing canary melon, it’s important to be aware of common pests that can cause damage to your plants. By identifying these pests early on, you can take appropriate action to prevent them from infesting your crop.
The following table provides an overview of the common pests affecting Canary Melon and the damage they can cause:
| Pest | Damage |
|---|---|
| Aphids | Deformity, stunted growth |
| Spider Mites | Leaf discoloration and webbing |
| Squash Bugs | Leaf wilt, fruit damage |
| Cucumber Beetles | Leaf feeding, transmission of diseases |
Preventive Measures
Taking preventive measures can help protect your canary melon plants from pests. Here are some steps you can take to minimize the risk of infestation:
- Practice crop rotation.
- Rotate your canary melon plants with other crops to disrupt pest life cycles.
- Clean cultivation:
- Remove weeds that can harbor pests and diseases.
- Monitor regularly:
- Inspect your plants regularly for any signs of pest infestation, such as yellowing leaves or evidence of feeding.
- Use floating row covers.
- Cover your plants with floating row covers to prevent pests from reaching them physically.
Natural Pest Control Methods
If preventive measures fail to keep pests at bay, you can turn to natural pest control methods. These methods offer an eco-friendly alternative to chemical pesticides and can effectively control pests without harming beneficial insects.
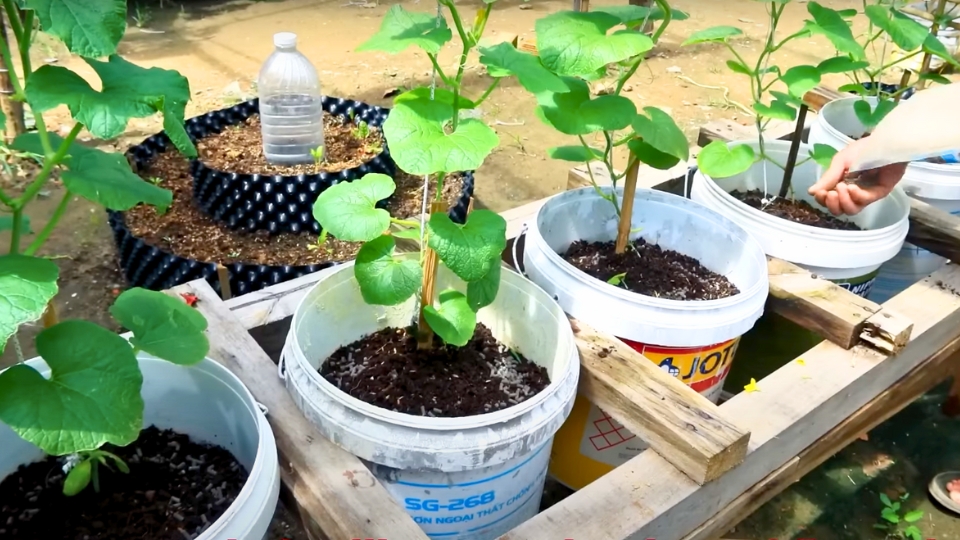
Here are some natural pest control methods you can try:
- Handpicking: Remove pests by hand and dispose of them away from your plants.
- Attract beneficial insects: Encourage beneficial insects, such as ladybirds or lacewings, to your garden by planting flowers that attract them.
- Neem oil spray: Apply neem oil spray to control pests like aphids and spider mites.
- Homemade insecticidal soap: Make a liquid dish soap and water solution to spray on infected plants.
Identifying And Treating Diseases
In addition to pests, canary melon plants can also be susceptible to various diseases. Identifying these diseases early on is crucial for implementing appropriate treatment. Keep an eye out for the following common diseases that affect canary melon:
- Powdery Mildew: white powdery fungal growth on leaves.
- Fusarium wilt: yellowing and wilting of plant leaves.
- Anthracnose: circular brown spots on leaves and fruits.
- Downy mildew: yellowing and browning of leaves.
If you notice any signs of disease, promptly remove the affected plants or parts to prevent further spread. It’s also helpful to ensure proper spacing and airflow between plants to minimize the risk of disease transmission.
By being proactive in pest and disease management and implementing preventive measures, you can safeguard your canary melon plants and maximize your chances of a successful harvest. Stay vigilant, and remember that regular monitoring is key to early detection and effective treatment.
Canary Melon Harvesting And Storage
Once you’ve successfully grown your canary melons, it’s important to know the optimal time to harvest and store them. Harvesting at the right moment ensures maximum flavor and juiciness, while proper storage techniques help extend their shelf life and preserve their taste.
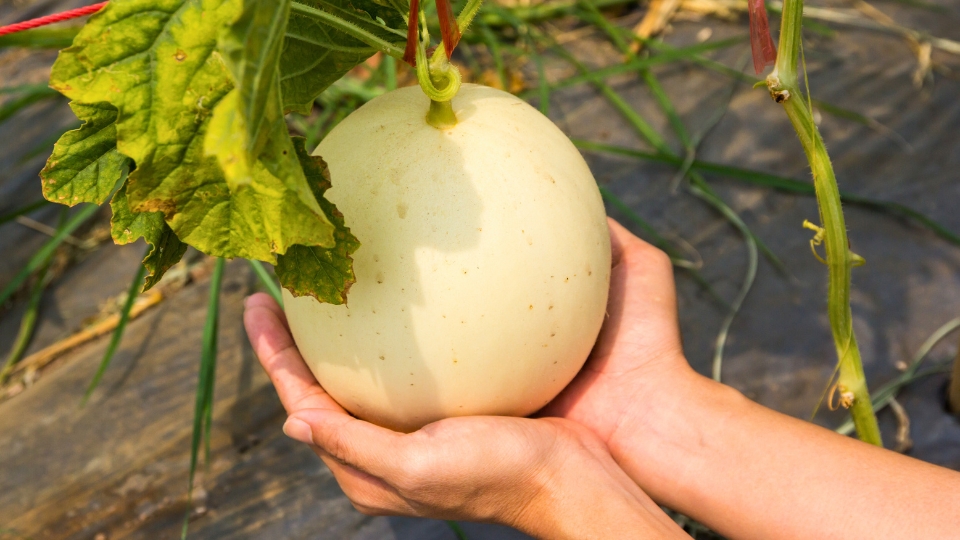
In this section, we will explore the key aspects of determining ripeness, harvesting techniques, storing canary melons, and how to extend their shelf life.
Determining Ripeness
Before indulging in the juiciness of a canary melon, it’s essential to determine if it has reached its peak ripeness. Here are a few indicators to look for:
- The melon’s skin should turn from green to a vibrant yellow colour.
- When you gently tap the melon, it should produce a deep, hollow sound.
- The skin of a ripe canary melon will be slightly firm but not too hard.
- Press your thumb gently against the melon’s blossom end; if it gives in slightly, it’s a good sign that it’s ready to be harvested.
Harvesting Techniques
Now that you’ve determined the ripeness of your canary melon, it’s time to harvest it.
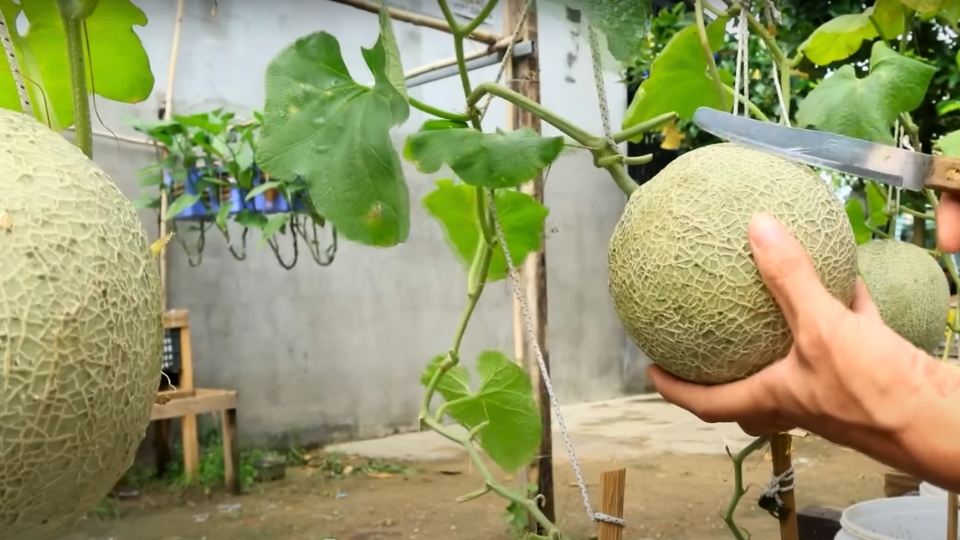
Follow these simple harvesting techniques to ensure you gather your fruits effectively:
- Use a sharp knife or garden shears to cut the melon from the vine, leaving a short stem intact. Avoid using excessive force to prevent damage.
- Do not pull or twist the melon, as it can separate from the stem prematurely, affecting its overall quality.
- Handle the melons gently to avoid bruising or puncturing their delicate skin.
Storing Canary Melon
Proper storage is crucial for maintaining the quality and taste of canary melons. Here are some steps to follow when storing them:
- Wash the melons under running water to remove any dirt or debris. Pat them dry with a clean cloth or paper towel.
- Choose a cool, well-ventilated location, such as a pantry or cellar, for storing the melons. They should be kept away from direct sunlight and extreme heat sources.
- If you plan to store them for an extended period, you can refrigerate the melons. Place them in a plastic bag or wrap them in plastic wrap to retain their moisture.
- Store the canary melons separately from other fruits, as they have the potential to absorb their odors and flavors.
- Regularly check the stored melons for any signs of spoilage, such as mould or softness. If you notice any abnormalities, use those melons first to avoid affecting the rest of the batch.
Extending Shelf Life
If you want to extend the shelf life of your canary melons, follow these additional tips:
- To slow down the ripening process, store uncut melons in a cool environment at around 50–55°F (10–13°C).
- Avoid washing the melons until you’re ready to consume them, as excess moisture can lead to decay.
- Slicing the melon only when needed helps maintain its freshness for a longer duration.
- When cutting into a canary melon, remove the seeds and wrap the remaining fruit tightly in plastic wrap, or store it in an airtight container in the refrigerator for up to a week.
Final Decision
Knowing when to plant canary melons is essential to their effective growth and abundant harvest. The ideal time to plant these melons can be chosen by considering soil temperature and climate variables. Following planting instructions correctly will improve your chances of a successful crop, regardless of whether you start with transplants or directly sow the seeds in the ground.
So, enjoy the sweet and juicy flavors of ripe canary melons by planting them right now! Happy gardening!
Video Source: https://www.youtube.com/watch?v=t3aY84XcdAo

