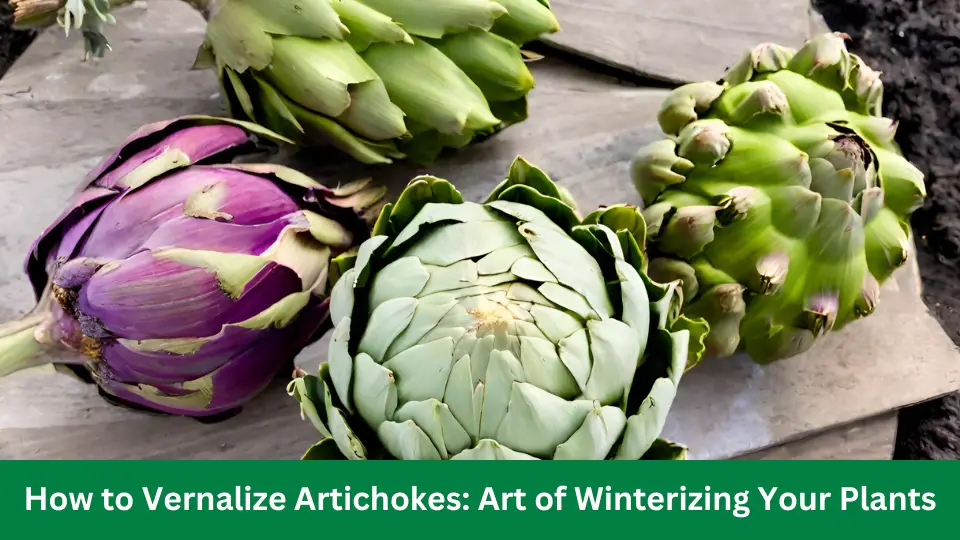
How to Vernalize Artichokes: Art of Winterizing Your Plants
Expose the plant’s crown to cold temperatures for 10 to 14 days to vernalize artichokes. Artichokes require a process called vernalization to promote flowering.
Vernalization involves exposing the artichoke plant crown to cold temperatures for a specific period. This cold treatment mimics winter conditions, signaling the plant to initiate flower production. Vernalizing artichokes is crucial for successful blooms and a bountiful harvest.
We will explore how to vernalize artichokes effectively to ensure healthy and productive plants in your garden. So, let’s dive in and discover the critical steps to vernalizing your artichokes.
Understanding Vernalization
Vernalization exposes certain plants, like artichokes, to prolonged cold temperatures to stimulate flowering. It is an essential technique for gardeners cultivating artichokes in regions with mild winters.
What Is Vernalization?
Understanding vernalization is crucial when it comes to successfully growing artichokes. Vernalization refers to the process of exposing plants to cold temperatures for an extended period.
This cold treatment helps to stimulate the flowering and fruiting of certain plant species, including artichokes. Essentially, vernalization mimics the natural winter conditions these plants require to enter their reproductive phase.
Why Is Vernalization Important For Artichokes?
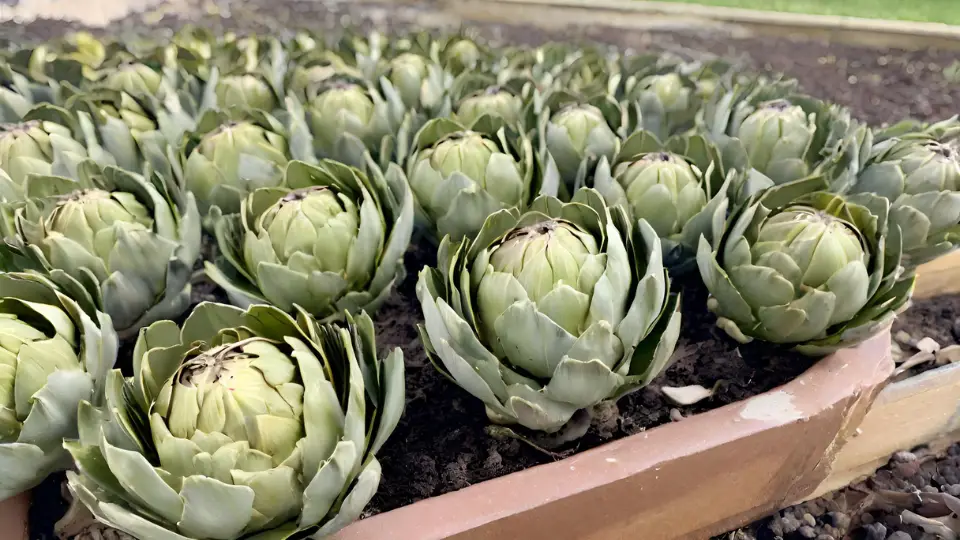
Vernalization is particularly important for artichokes because this vegetable is a biennial plant. This means it completes its life cycle in two years. In the first year, artichoke plants grow foliage and establish a robust root system. However, they do not produce flowers or artichoke heads during this time.
Only in the second year, after undergoing vernalization, did artichokes shift their energy towards flower and artichoke head development.
Benefits Main Point Table
| Benefits | Information |
| Triggers flowering and fruiting | Cold exposure prompts flower formation, leading to fruiting. |
| Enhances crop yield | Increased flowers result in a higher artichoke crop yield. |
| Larger and tastier artichoke heads | Vernalization influences larger and more flavorful artichoke heads. |
| Promotes uniform growth and maturity | Cold exposure ensures consistent growth and maturity, simplifying harvesting. |
| Increases adaptability to harsh conditions | Enhances plant resilience to harsh environmental conditions. |
Ensures a more prosperous and consistent harvest | Vernalization guarantees that artichokes will produce high-quality and desirable heads, as the induced cold treatment helps to synchronize the crop’s growth and development.
Without vernalization, artichoke plants would only grow foliage in their second year, resulting in a lack of edible artichoke heads. By understanding and implementing vernalization, gardeners, and farmers can optimize their artichoke yield and enjoy a bountiful harvest of these delectable vegetables.
Preparing Artichokes For Vernalization
If you’re an artichoke enthusiast looking to enjoy a bountiful harvest in the coming months, knowing how to prepare your artichokes for vernalization properly is essential. Properly vernalizing your artichokes ensures they receive the necessary cold treatment. This allows their flower buds to develop properly, resulting in a more abundant and delicious harvest.
This article will guide you through preparing artichokes for vernalization. We will guide you from choosing the suitable artichoke varieties to the optimal time for this important step.
Choosing The Right Artichoke Varieties
Before diving into vernalizing your artichokes, choosing the right varieties for your climate and growing conditions is crucial. Different artichoke varieties have varying vernalization requirements, so picking the ones suitable for your region will significantly increase your chances of success.
Here are a few popular artichoke varieties known for their adaptability:
- Globe de Laon
- Green Globe
- Purple of Romagna
Whether you prefer a classic green or a unique purple, select artichoke varieties that thrive in your local climate, ensuring a more successful vernalization process.
Transplanting Or Starting From Seeds
Once you have chosen the right artichoke varieties, you must decide whether to transplant established seedlings or start from seeds. Transplanting allows you to get a head start using mature plants while starting from seeds provides more cost-effective and diverse options. Consider the following factors when making your decision:
- Transplanting: If you want a quicker harvest and prefer convenience, transplanting established seedlings is the way to go. Ensure the seedlings have been properly hardened off before transplanting them into well-prepared soil.
- Starting from Seeds: Starting artichokes from seeds offers a wider variety of options and allows you to experiment with different cultivars. Sow the seeds indoors 8-10 weeks before the last expected frost date, providing adequate warmth and light.
Optimal Time For Vernalization
Timing is crucial when it comes to vernalizing artichokes. To ensure a successful vernalization process, waiting until the optimal time before subjecting your plants to the required cold treatment is critical.
The ideal time for vernalization is late fall or early winter when temperatures drop below 50°F (10°C). This cold period typically lasts approximately three weeks and triggers artichoke plants to enter a dormant state, which is necessary for proper flower bud development.
By carefully selecting the right artichoke varieties, deciding on the proper method for starting your plants, and timing the vernalization process correctly, you’ll increase the chances of a fruitful artichoke harvest. Follow these steps, and soon, you’ll savor homegrown artichokes in your favorite recipes.
Creating The Ideal Vernalization Environment
Vernalization is a process that involves the exposure of certain plants, such as artichokes, to cold temperatures in order to stimulate their growth and flowering. To successfully vernalize artichokes, it is crucial to create the ideal environment. Here are the key factors to consider:
Choosing The Right Location
The first step in creating the ideal vernalization environment for artichokes is selecting the right location. Ideally, choose an area of your garden that receives full sun for at least 6 hours daily.
Sunlight is essential for plants to grow and develop. Additionally, ensure that the chosen location is protected from strong winds, as this can damage or stress the artichoke plants.
Preparing The Soil
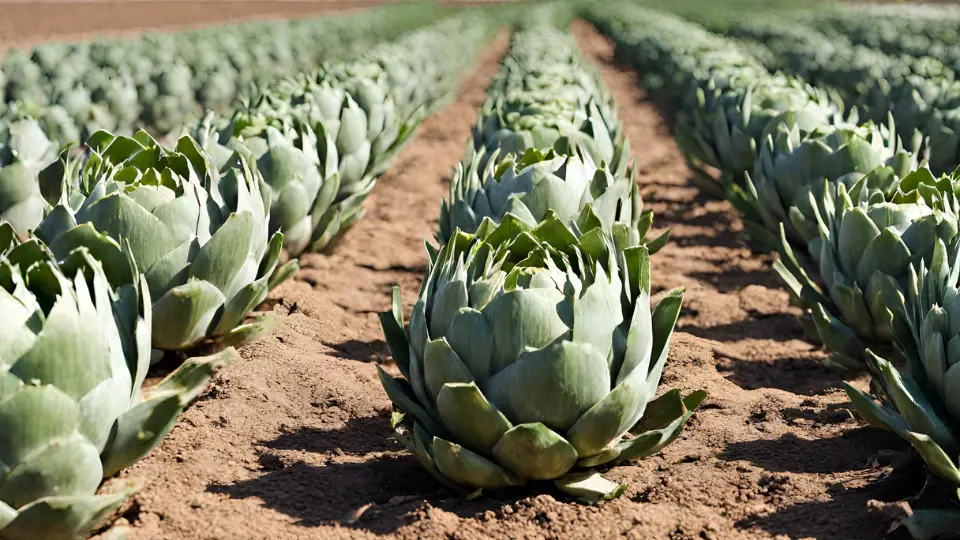
Before vernalizing artichokes, prepare the soil adequately. Artichokes prefer well-drained soil rich in organic matter. Start by removing any weeds or debris from the planting area. Next, amend the soil with organic compost or well-rotted manure to improve fertility and moisture retention.
Here’s a quick guide to preparing the soil for artichokes:
| Step | Description |
|---|---|
| 1 | Clear the planting area of any weeds or debris. |
| 2 | Add organic compost or well-rotted manure to enhance soil fertility. |
Providing The Right Temperature And Light Conditions
The temperature and light conditions play a crucial role in successfully vernalizing artichokes. During the vernalization period, artichokes require consistent cold temperatures between 40°F and 50°F (4°C and 10°C) for around 2 to 4 weeks. This exposure to cold triggers a physiological response in the plants, preparing them for vigorous growth and flowering.
Moreover, it is important to provide artichokes with adequate light during the vernalization period. Supplemental lighting can be used if natural light is insufficient, especially during winter when daylight is shorter.
In summary, creating the ideal vernalization environment for artichokes involves choosing the right location with adequate sunlight. It also involves preparing the soil with organic matter and providing the plants with the right temperature and light conditions. Attention to these factors ensures that your artichokes vernalize successfully, producing healthy, productive plants.
Implementing Vernalization Techniques
Implementing the right techniques is crucial for successfully verifying Artichoke’s results. Vernalization, which exposes plants to cold temperatures, is vital in promoting flower production in artichokes. To maximize flower yields, this section explores some effective vernalization techniques.
Cold Stratification
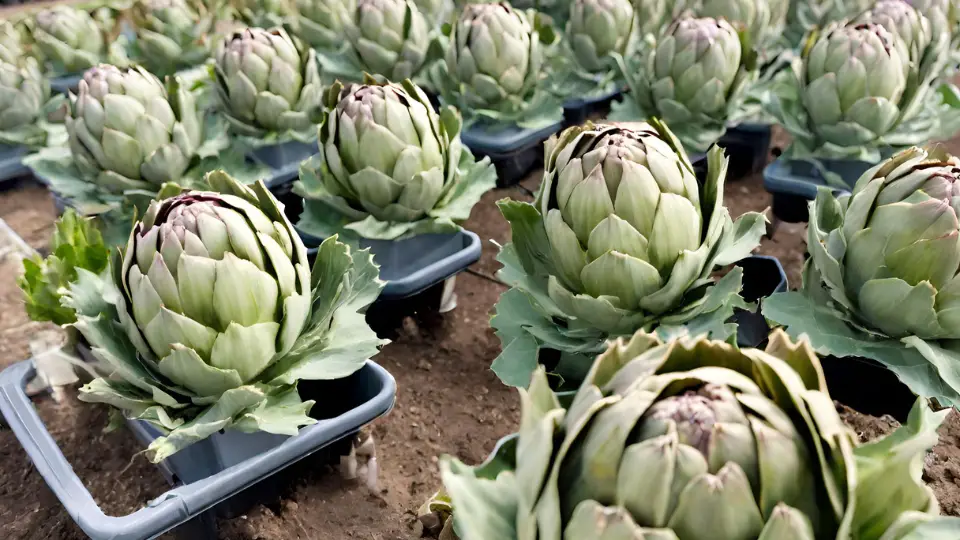
Cold stratification is a common technique used to vernalize artichokes. This method simulates the natural winter conditions the artichoke seeds experience in their native habitat. To cold stratify artichokes:
- Place the artichoke seeds on a damp paper towel.
- Seal the seeds and paper towel in a plastic bag.
- Store the bag in a refrigerator for a specific period, typically around 4 to 6 weeks.
- Regularly check the moisture levels of the paper towel to ensure it remains damp throughout the stratification period.
This cold stratification process helps break the seed’s dormancy and prepares it for growth once planted. It mimics the natural conditions during winter, prompting the artichoke to develop stronger flower buds when the warmer spring season arrives.
Chilling The Artichokes
In addition to vernalizing artichokes from seeds, you can also vernalize established artichoke plants to encourage flower production. This method is particularly useful when working with potted or container-grown artichokes.
Here’s how you can chill the artichokes:
- Transplant your artichoke plants into individual pots or containers.
- Maintain a consistent temperature between 40°F to 50°F (4°C to 10°C) in a cool room or refrigerator.
- Leave the plants in the cool environment for around 2 to 4 weeks.
- Ensure the artichokes receive proper moisture and are not exposed to freezing temperatures.
Chilling the artichoke plants provides the necessary cold exposure for vernalization, promoting flower bud development once the warmer growing conditions are provided.
Using Grow Lights Or Artificial Lighting
If you don’t have access to a suitable cool environment for vernalizing artichokes, you can use grow lights or artificial lighting to simulate the necessary cold period. Here’s how you can use grow lights for vernalization:
- Place your artichoke plants near fluorescent grow lights or LED lamps.
- Keep the lights on for approximately 12 to 15 hours per day.
- Set the light intensity to mimic the natural daylight cycle.
By providing the required lighting conditions, you can initiate the vernalization process in artichokes, stimulating flower bud development.
Monitoring And Maintaining The Vernalization Period
During the vernalization period, monitoring and maintaining the specific conditions required for successful artichoke flower production is essential. Here are some key points to consider:
- Regularly check the temperature and humidity levels in the cold environment or refrigerator where the artichokes are being vernalized.
- Ensure the plants receive proper ventilation to prevent excess moisture buildup or mold formation.
- Keep a close eye on the moisture levels of the artichoke soil or growing medium, avoiding both under or overwatering.
- Maintain consistent lighting conditions using grow lights, adjusting the intensity and duration as needed.
By closely monitoring and maintaining the vernalization period, you can maximize the chances of achieving optimal flower production and a bountiful artichoke harvest.
Caring For Vernalized Artichokes
Once you have successfully vernalized your artichoke plants, providing them with the proper care is important to ensure their growth and productivity. This includes appropriate watering and humidity management, fertilizing and nutrient requirements, and pest and disease prevention.
Watering And Humidity Management
Proper watering and humidity management are crucial for the health of vernalized artichokes. These plants thrive in moist soil, so it’s important to keep the soil damp but not waterlogged. Aim to provide about 1-2 inches of water per week, ensuring it reaches the root zone. Mulching the soil around the artichoke plants can help retain moisture and reduce weed growth.
In terms of humidity, artichokes prefer a moderate level. If you live in a dry climate, consider misting plants regularly with a spray bottle to increase humidity levels. However, avoid overdoing it, as excessive moisture can lead to fungal diseases.
Fertilizing And Nutrient Requirements
Artichokes have specific nutrient requirements to support their growth and development. Before planting, it’s recommended to amend the soil with organic matter, such as compost or well-rotted manure, to improve its fertility. Additionally, a soil test can help determine nutrient deficiencies in the soil.
Providing artichoke plants with a balanced nitrogen-rich fertilizer, such as a 10-10-10 or 14-14-14 blend, is beneficial during the growing season. Apply the fertilizer according to the package instructions, usually every 4-6 weeks, to ensure the plants receive nutrients for healthy growth.
Pest And Disease Prevention
Implementing preventative measures is essential to keep your vernalized artichokes free from pests and diseases. Regularly inspect the plants for any signs of pest infestation, such as aphids or slugs. Remove pests quickly by hand or use organic pest control methods like neem oil or insecticidal soap if pests are detected.
Additionally, practicing good garden hygiene by removing dead leaves or plant debris can prevent disease spread. Providing adequate spacing between artichoke plants can improve air circulation, reducing the risk of fungal disease.
Overall, by following these guidelines for watering and humidity management, fertilizing and nutrient requirements, and pest and disease prevention, you can ensure the health and productivity of your vernalized artichoke plants. You can enjoy a bountiful harvest of delicious artichokes for many seasons with proper care.
Transitioning Artichokes Out Of Vernalization
After successfully vernalizing your artichoke plants, it’s time to transition them out of the vernalization process and prepare them for growth and development. Here are three essential steps to smoothly transition your artichokes:
Gradual Temperature Adjustments
To avoid shock and ensure a successful transition, gradually adjusting the temperature for your artichoke plants is important. Start by increasing the temperature by a few degrees every few days until it reaches the desired growth level. This gradual adjustment helps your artichokes acclimate to the new temperature and prevents adverse effects.
Increasing Light Exposure
Transitioning artichokes out of vernalization also involves increasing their light exposure. Begin by gradually exposing your plants to longer periods of light each day. This gradual increase in light exposure prevents stress and allows artichokes to adjust to their new growing conditions. Ensure your plants receive at least 12-14 hours of light daily for optimal growth.
Monitoring Growth And Development
Once you’ve adjusted the temperature and increased the light exposure, closely monitoring your artichoke plants’ growth and development will prove crucial. Keep an eye on leaf color, size, and consistency. Look for any signs of stress or nutrient deficiencies and address them promptly to ensure healthy growth.
Regularly check the soil moisture levels and water your plants adequately to provide them with the ideal growing conditions.
| Key Steps: | Transitioning Artichokes Out of Vernalization |
|---|---|
| 1 | Gradual temperature adjustments |
| 2 | Increasing light exposure |
| 3 | Monitoring growth and development |
- Gradually adjust the temperature by a few degrees every few days.
- Increase light exposure gradually, aiming for 12-14 hours of light daily.
- Monitor the growth and development of your artichoke plants closely.
- Check for signs of stress or nutrient deficiencies.
- Ensure adequate soil moisture and provide proper watering.
Harvesting And Using Vernalized Artichokes
Vernalizing artichokes can be a useful technique for improving their growth and flavor. Discover how to vernalize artichokes to maximize your available crop.
After successfully vernalizing your artichoke plants, it’s time to reap the rewards of your efforts. Harvesting and using vernalized artichokes requires a careful approach to ensure flavor and texture. You will learn how to harvest vernalized artichokes, how to harvest them properly, and how to use them in recipes and cuisine.
Knowing When To Harvest
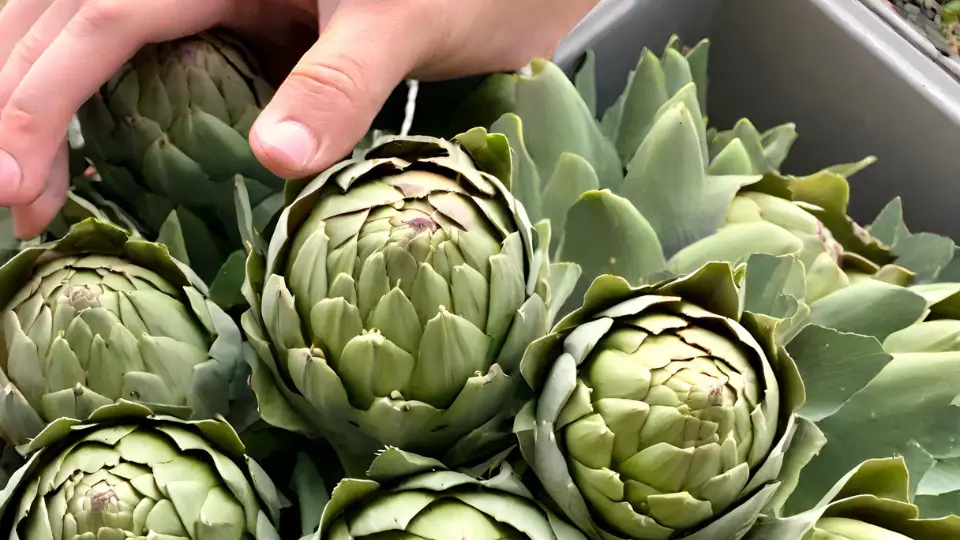
Harvesting artichokes at the right time is crucial for optimal taste and tenderness. To determine if your vernalized artichokes are ready to be picked, there are a few key things to look out for:
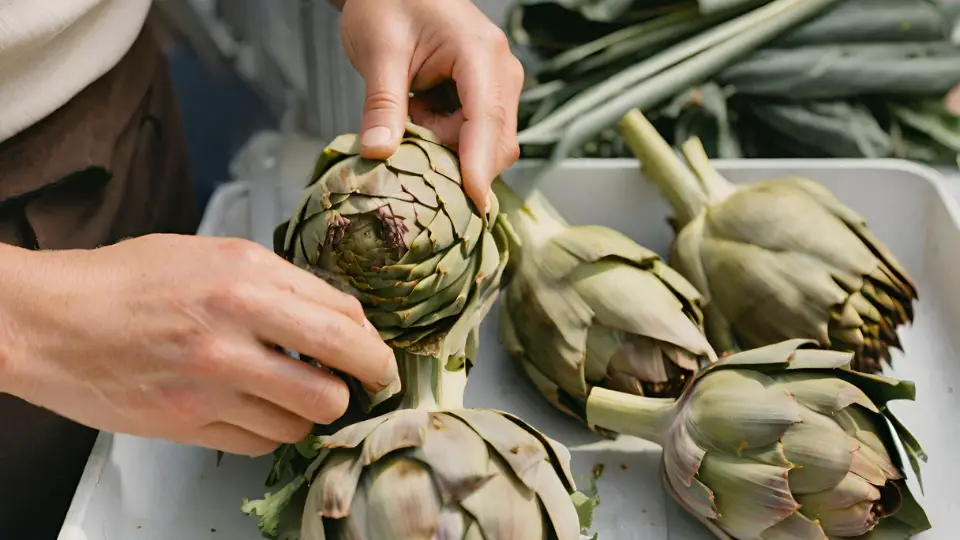
- Tight, compact buds: Mature artichokes will have tightly closed buds, indicating that they are at their peak flavor.
- Plump and solid: A ripe artichoke should feel heavy and firm in your hand, with no signs of shriveling or wilting.
- Vibrant green color: The leaves of a perfectly ripe artichoke will be a vibrant green, indicating freshness.
Proper Harvesting Techniques
When it comes to harvesting vernalized artichokes, precision is key. Follow these steps to ensure you harvest your artichokes correctly:
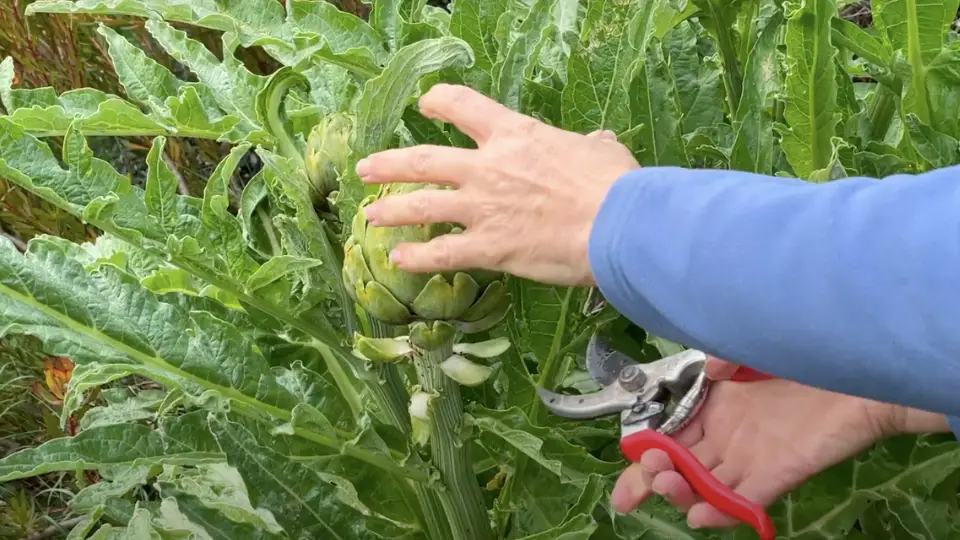
- Tools: Prepare a sharp, clean knife or shears to cut the artichokes away from the plant.
- Picking: Identify the mature artichokes by the aforementioned characteristics. Cut the stem of the artichoke at its base, leaving around an inch of stem intact.
- Removal of thorns: Carefully trim the thorny tips of the artichoke leaves using kitchen shears or a sharp knife. This will make them easier to handle while preparing for your culinary creations.
Recipes And Culinary Uses For Vernalized Artichokes
Vernalized artichokes have a delightful flavor that enhances a wide range of dishes. Here are a few recipe ideas and culinary uses to inspire you:
- Stuffed artichokes: Fill the center of your vernalized artichokes with a delicious mixture of breadcrumbs, Parmesan cheese, garlic, and herbs. Bake until golden brown for a mouthwatering appetizer or side dish.
- Artichoke dip: Combine cooked and chopped vernalized artichokes with cream cheese, mayonnaise, and a medley of seasonings to create a delectable dip for your next gathering.
- Pasta dishes: Add sautéed vernalized artichoke hearts, cherry tomatoes, olives, and fresh herbs to your favorite pasta dishes for a burst of Mediterranean flavors.
- Salads and sides: Incorporate vernalized artichoke hearts into salads, quinoa bowls, or roasted vegetable medleys for a nutritious and satisfying addition.
Frequently Asked Questions Of How To Vernalize Artichokes
How Long Does It Take To Vernalize Artichokes?
Artichokes usually require a vernalization period of 15 to 20 days to develop properly.
Do You Need To Cold Stratify Artichokes?
No, artichokes do not require cold stratification.
How Do You Make Artichokes Grow Bigger?
To make artichokes grow bigger, provide them with rich soil, regular water, and full sun exposure. Fertilize with nitrogen-rich compost or organic fertilizer. Remove any weeds around the plants to prevent competition. Harvest the artichokes at the right time to encourage larger growth.
Conclusion
Artichokes can add unique touches to any culinary creation. By understanding the vernalization process, you can effectively cultivate these delectable vegetables. Artichoke plants can be stimulated with proper temperature control and patience to produce bountiful yields. Whether a seasoned gardener or a beginner, these simple steps can help you successfully vernalize artichokes and enjoy their savory flavors.
Embrace the rewarding experience of growing your artichokes and elevate your cooking to a new level.
Video Source: https://www.youtube.com/watch?v=Qijq1IvExrM


