To grow microgreens indoors without soil, use hydroponic systems or substrates like coconut coir. Employ adequate lighting and consistent moisture levels for successful growth.
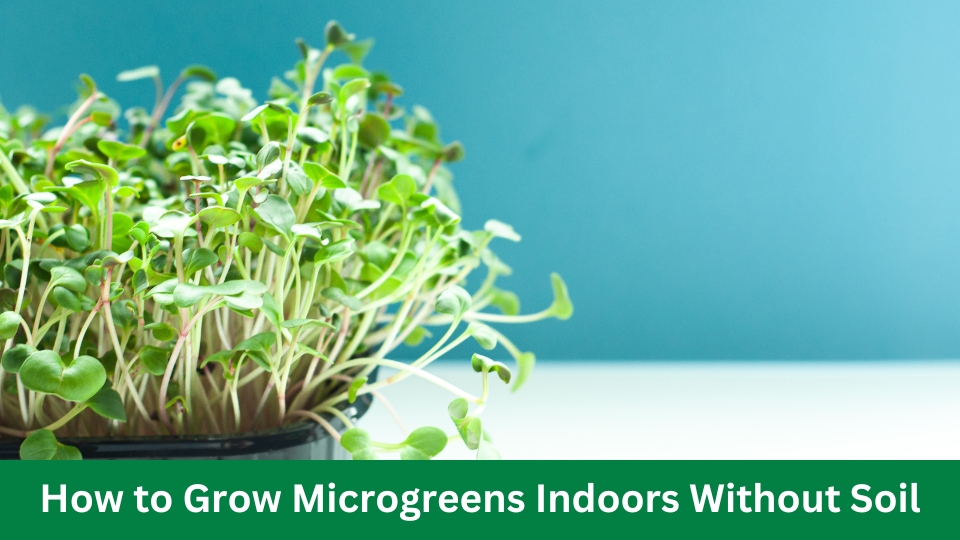
Growing microgreens indoors heralds a venture into sustainable living and adds freshness to your urban dwelling. These tiny plants pack a nutritional punch, and cultivating them without soil opens up a clean, space-saving farming method.
It is important to know the right way to care for them in water or with other materials like coconut coir or felt mats. You can keep picking these tasty greens with enough water, light, and care. This guide removes the confusion and shows you how to grow microgreens without dirt that does well. When you do this indoor farming, you can enjoy the short time between planting and harvesting—most types are ready in just one to three weeks.
The Allure Of Soilless Microgreens
Imagine growing fresh greens in your own home without dirt. Soilless microgreens make this clean, easy, and fun. They offer a simple solution for year-round gardening.
Let’s dive into why soilless methods are gaining popularity and the benefits they provide for both the environment and your health.

Why Soilless?
- No mess: Without soil, growing microgreens becomes a cleaner process.
- Space-saving: Soilless systems fit easily in small spaces, perfect for urban homes.
- Faster growth: Microgreens mature rapidly due to direct nutrient access.
Environmental And Health Benefits
Soilless microgreens are not just convenient; they’re also eco-friendly. They reduce water usage and eliminate the need for pesticides. Here’s a closer look:
| Benefit | Impact |
|---|---|
| Water Efficiency | Hydroponic systems use less water than traditional farming. |
| No Chemicals | Growing without soil limits exposure to soil-borne diseases, reducing the need for chemicals. |
| Nutrient Control | Nutrient solutions provide everything microgreens need, leading to better growth and higher nutritional value. |
Your health benefits, too. Consuming microgreens means more vitamins and antioxidants on your plate. Also, minimal handling ensures maximum freshness and taste!
Getting Started With Hydroponics
Growing microgreens indoors just got easier with hydroponics, a soil-free solution. Forget messy soil – embrace the world of water-based planting. Hydroponics is a perfect way to grow microgreens in your own home. Let’s dive into starting your green journey!
Choosing The Right System
Selecting the ideal hydroponic system is your first step. There are many types, but here are some popular choices for microgreens:
- Deep Water Culture (DWC): Let roots dangle in nutrient-rich water.
- Ebb and Flow: Floods roots with nutrients before draining.
- Nutrient Film Technique (NFT): Passes a thin nutrient solution over roots.
Consider space, budget, and how hands-on you’d like to be when choosing a system.
Essential Supplies
Getting the right supplies is crucial. Here’s a list to get you started:
| Supply | Description |
|---|---|
| Microgreens Seeds | Choose fast-growing varieties like radish or kale. |
| Hydroponic Trays | Shallow trays work best for microgreens. |
| Grow Lights | Full-spectrum LED lights encourage growth. |
| Nutrient Solution | Blends give your greens essential minerals. |
| pH Test Kit | Keep the pH of the water balanced for optimal growth. |
Gather these supplies, and you’re ready to grow microgreens in a clean, soil-free environment!
Selecting Your Microgreen Varieties
Selecting Your Microgreen Varieties is critical in growing microgreens indoors without soil. Different types of microgreens not only bring a variety of flavours and textures to your dishes but also contain diverse nutritional benefits. Choosing varieties that suit your taste preferences and growing conditions is essential.
Popular Soilless Varieties
- Pea Shoots: Well-loved for their sweet flavour and crunchy texture.
- Radish Greens: They are known for their spicy kick and are perfect for adding a zing to salads.
- Sunflower Greens: Offer a nutty taste and hearty texture and are excellent in sandwiches.
- Arugula: Has a peppery flavour that complements many dishes.
- Kale: A mild, cabbage-like flavour with a plethora of vitamins.
- Broccoli: Mild taste but is packed with nutrients like sulforaphane.
Taste Profiles And Nutritional Information
| Variety | Taste Profile | Nutritional Highlight |
|---|---|---|
| Pea Shoots | Sweet and crunchy | High in Vitamin C and fiber |
| Radish Greens | Spicy | Rich in Vitamin E and antioxidants |
| Sunflower Greens | Nutty | Good source of protein and Vitamin B complex |
| Arugula | Peppery | Contains Vitamin K and calcium |
| Kale | Mild, cabbage-like | High in Vitamins A, C, and K |
| Broccoli | Mild | Packed with Vitamin C and sulforaphane |
Creating The Perfect Growing Environment
Microgreens thrive in an environment that mimics their natural outdoor climate. Even without soil, ensuring these conditions indoors is essential for their growth. Let’s dive into how to create the perfect setting in your home.

Lighting Needs
Proper lighting is crucial for microgreens. These tiny plants need plenty of light to photosynthesize and grow. A setup with either natural sunlight or grow lights will work wonders.
- 12-16 hours of light daily
- Avoid direct sun that can burn tender leaves
- LED or fluorescent bulbs simulate sunlight well
Temperature And Humidity Control
The right temperature and humidity make a welcoming home for microgreens:
| Factor | Ideal Range |
|---|---|
| Temperature | 18-24°C (65-75°F) |
| Humidity | 40-60% |
Use a thermometer and humidity gauge to monitor levels. A humidifier or dehumidifier helps in adjusting the humidity when needed. Maintain consistent conditions for the best growth.
Planting Seeds For Hydroponic Growth
Growing microgreens indoors without soil is an exciting journey! The hydroponic method lets plants thrive in a water-based, nutrient-rich solution. Discover the secrets to planting seeds perfectly suited for hydroponic growth. Enjoy fresh, nutritious greens right from your windowsill!
Pre-soaking Seeds
Start with pre-soaking to speed up germination. Here’s how:
- Choose high-quality seeds that are free from disease.
- Place seeds in a clean bowl.
- Use room-temperature water to cover the seeds.
- Let them soak for 3-8 hours, depending on their size.
- Drain the water and rinse the seeds gently.
Sowing Techniques
Proper sowing ensures your seeds turn into lush microgreens. Try these techniques:
- Use a hydroponic tray for even placement.
- Spread seeds evenly for uniform growth.
- Avoid overcrowding by giving seeds some space.
- Cover seeds lightly with a thin layer of vermiculite or coconut coir.
- Place the tray in a well-lit area or under a grow light.
Water Quality And Nutrient Solutions
Growing microgreens indoors without soil is an amazing way to garden cleanly and efficiently. To do this right, thinking about water quality and nutrient solutions is key. High-quality water can make or break your microgreens’ growth, and choosing the right nutrients ensures your plants get what they need to thrive.
Balancing Ph Levels
The pH level of your water has a direct impact on your microgreens. You want to aim for a pH just right for optimal nutrient uptake. Here’s what you can do:
- Test the pH of your water with a simple pH meter.
- Adjust the pH, if necessary, using pH up or pH down solutions.
- Strive for a pH range of 5.5 to 6.5, ideal for most microgreens.
Nutrient Mixes And Timing
Nutrient mixes are vital for soil-less microgreen growth. Here’s how you nail the right mix and timing:
- Mix a water-soluble nutrient solution designed for hydroponics.
- Follow package instructions closely to prevent over or underfeeding.
- Feed your microgreens the nutrient mix during their active growth phase.
| Microgreen | Feeding Start Day | Nutrient Mix Ratio |
|---|---|---|
| Radish | Day 4 | 150 ppm |
| Kale | Day 5 | 130 ppm |
Daily Care And Monitoring
Growing microgreens indoors without soil is an adventure in the small garden world. Daily care and monitoring are key to ensuring these tiny plants flourish. Each step, from watering to observing for any issues, is crucial. Let’s look at how to provide the best care for your soilless microgreens daily.
Watering Schedules
Microgreens need consistent moisture to grow. Unlike traditional plants, soilless microgreens rely on a water solution to thrive. Set a routine to water them at the same time every day.
- Morning is the best time to water your microgreens.
- Use a spray bottle for gentle watering.
- Check the moisture level regularly to avoid overwatering.
- Avoid getting water on the leaves to reduce the risk of disease.
Detecting And Preventing Issues
Vigilance is your ally in preventing problems with your microgreens. Pay close attention to your plants’ appearance and act swiftly when something seems off.
| Issue | Signs | Action |
|---|---|---|
| Mold | White fuzzy growth | Increase air circulation, reduce watering |
| Pests | Visible insects or damage on leaves | Use organic insecticidal soap |
| Yellowing | Plants losing colour | Ensure consistent light source |
Check daily for any signs of these issues. Early detection means a better chance of saving your microgreens. Always keep your growing area clean and tools sanitized to prevent problems before they start.
Harvesting Your Soilless Microgreens
Welcome to the stimulating world of growing microgreens indoors without soil! Harvesting your soilless microgreens is a thrilling moment. It’s when your little greens are ready to burst with flavour and nutrition.
Get ready to gather your fresh crop with ease and simplicity.

When To Harvest
Knowing the perfect time to harvest microgreens is crucial for their taste and nutrient content. Here’s how to determine the right time:
- Look for the first true leaves – the second set of leaves that develop.
- Depending on the plant variety, the timing is typically between 7-21 days after germination.
- Microgreens are ready once they are 1-3 inches tall.
- Harvest in the morning for the best flavour and moisture content.
Post-harvest Handling And Storage
After harvesting, proper care ensures your microgreens stay fresh longer. Here’s what to do:
- Gently wash the microgreens with cool, filtered water.
- Pat them dry with a clean towel or use a salad spinner.
- Store your microgreens in an airtight container.
- Place a paper towel inside to absorb excess moisture.
- Refrigerate immediately at a temperature around 36°F to 40°F.
- Consume within 5-7 days for the best quality and taste.
Frequently Asked Questions Of How To Grow Microgreens Indoors Without Soil
Can You Grow Microgreens Without Soil?
Using hydroponic systems or other soil-less mediums like coconut coir or peat moss, you can grow microgreens without soil without soil. These methods provide essential nutrients through water, allowing for clean and efficient growth.
Can I Grow Microgreens On Paper Towels?
Yes, you can grow microgreens on paper towels. Ensure the paper is moist and has no chemicals for safe, effective growth.
How Do You Grow Microgreens With Just Water?
To grow microgreens with just water, start by soaking seeds overnight. Spread them on a moistened paper towel or growing mat. Ensure constant moisture and good air circulation. Place in indirect sunlight and harvest when true leaves appear, typically in 1-2 weeks.
Decision
Embracing the simplicity of soilless gardening opens up a new realm of green thumb ventures. Mastering the art of growing microgreens indoors unlocks fresh, nutrient-rich produce year-round. Ready to embark on your soil-free journey? Your kitchen awaits its transformation into a microgreen haven.
Let’s cultivate life, even in the tiniest of spaces.
Video Source: https://www.youtube.com/watch?v=ywIHyhR-Wg4